Mattc3366
Active Member
After removal of the factory cobalt cluster to use an android tablet for my gauges I lost the fuel level function. Here is a little write up/info I hope will help someone out.
Future plans will be to also wire in the IAT2 sensor and possibly brake temp sensors.
Parts i ordered:
-LCD screen used
-Arduino Uno Board
-USB Cable to power the board
Step 1: Measure voltage from Gas Tank
I completely drained the tank to Empty and then measured voltage at the fuel pump and charted the voltage readings and i added in 1/2 gallon of gas at a time.
On an LSJ powered goblin the wire to read the voltage from is the purple wire. I cannont speak on any other trim levels. Below are the readings taken incase someone else
can use this info on another type of project.
Gallons-Voltage
0.0 - 2.614V
0.5- 2.614V
1.0- 2.42V
1.5- 2.167V
2.0- 2.014V
2.5-1.842V
3.0- 1.687V
3.5-1.563V
4.0-1.473V
4.5- 1.356V
5.0- 1.257V
5.5- 1.180V
6.0-1.044V
6.5- 0.928V
7 to 9 - 0.8V
as noted the readings from 7-9 gallons does not change. sure it would be nice to have it read all the way to 100% full but im more concered about running out of gas
and if im within those first 2 gallons i probably just got gas very recently lol
Step 2: download arduino software and upload code onto arduino
I would like to start by saying I am in no way a computer coding/software guy. No shame here in admitting I used ChatGPT to help write this entire thing LOL.
plug in your arduino board into your PC and download the Arduino Software from their website. Copy and paste the below code and then click sketch at the top and then upload. You may have to download a library from the left tool bar. In the search bar search Liquid Crystal I2C and click download.
#include <Wire.h>
#include <LiquidCrystal_I2C.h>
const int analogPin = A0;
const float referenceVoltage = 5.0;
// Calibration data
const int numCalibrationPoints = 18;
float voltagePoints[numCalibrationPoints] = {0.800,.928,1.044,1.180,1.257,1.356,1.473,1.563,1.687,1.842,2.014,2.167,2.420,2.614 /* Add 16 more voltage points */};
int percentagePoints[numCalibrationPoints] = {77,72,66,61,55,50,44,38,33,28,22,16.5,11,5.5,0 /* Add 16 more percentage points */};
LiquidCrystal_I2C lcd(0x27, 20, 4);
void setup() {
Serial.begin(9600);
lcd.init();
lcd.init();
lcd.backlight();
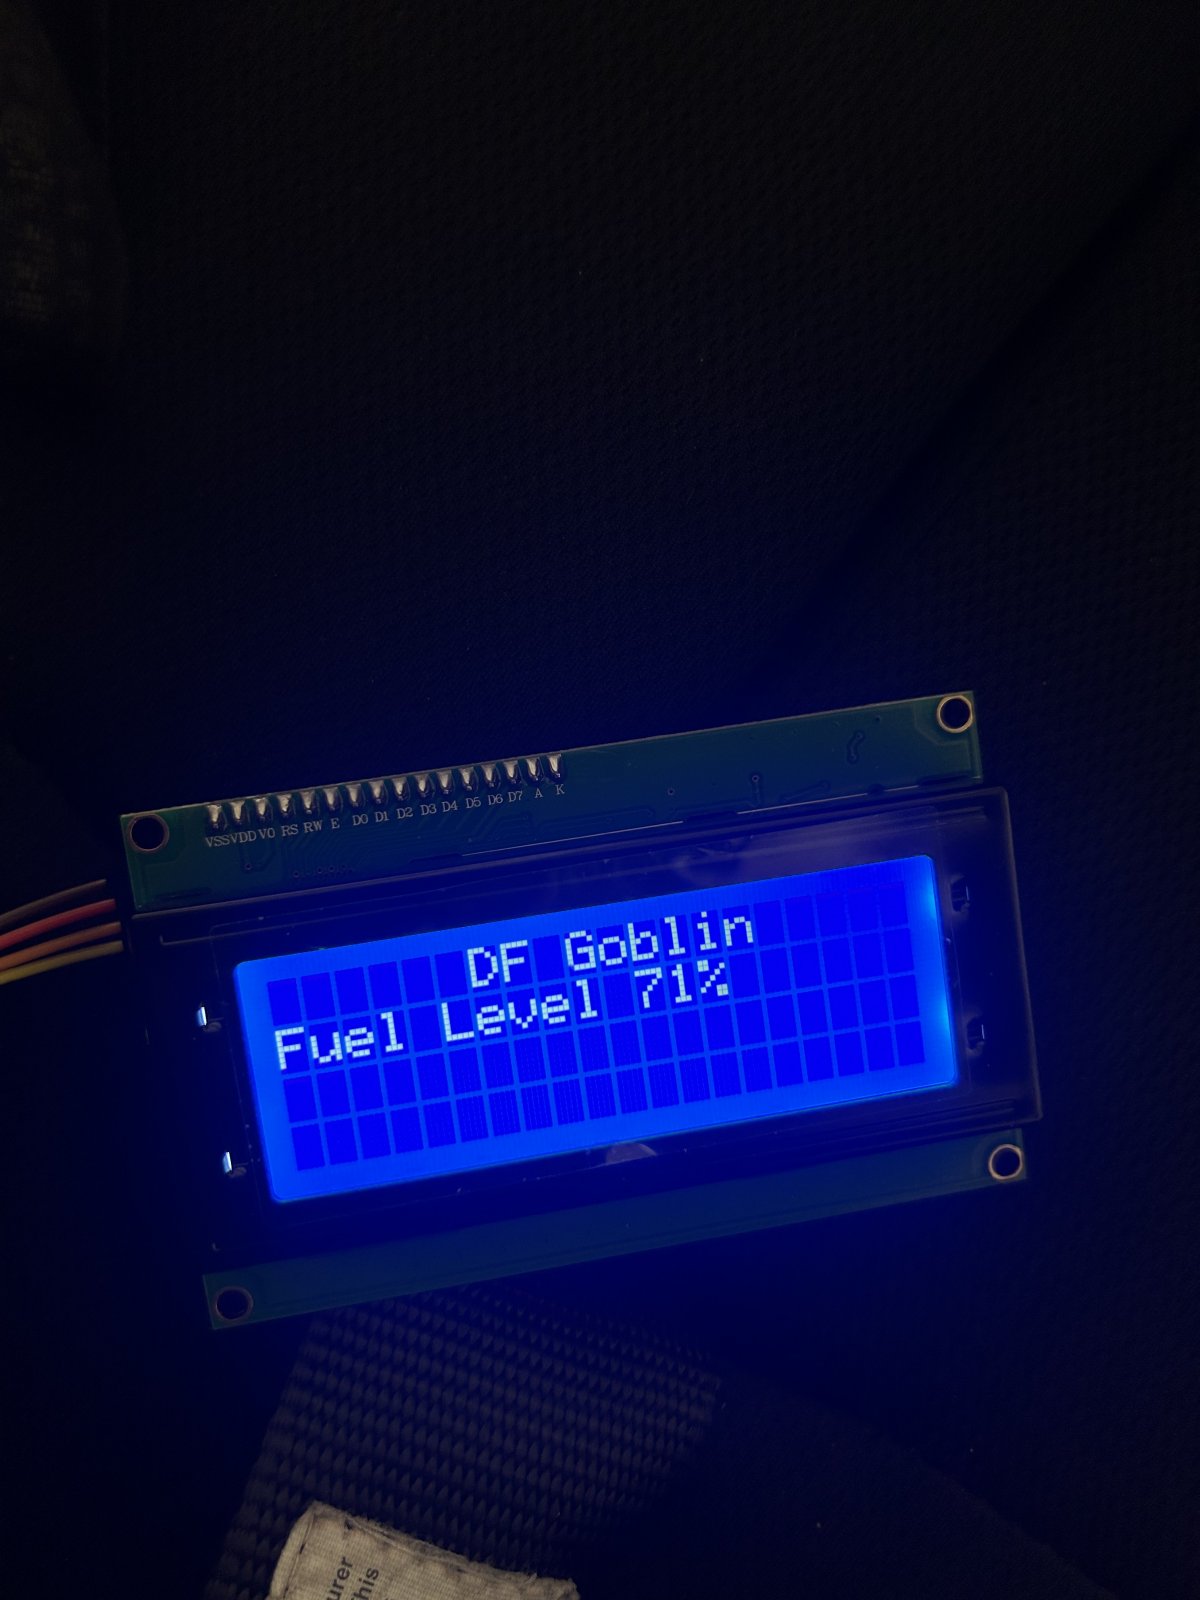
lcd.setCursor(6, 0);
lcd.print("DF Goblin");
lcd.setCursor(0, 1);
lcd.print("Fuel Level");
}
void loop() {
int sensorValue = analogRead(analogPin);
// Map raw sensor reading to voltage
float voltage = sensorValue * (referenceVoltage / 1023.0);
// Non-linear correction using interpolation
int percentage = interpolate(voltage, voltagePoints, percentagePoints, numCalibrationPoints);
lcd.setCursor(11, 1);
lcd.print(percentage);
lcd.setCursor(13, 1);
lcd.print("%");
delay(1000);
}
// Function to interpolate non-linear correction
int interpolate(float x, float xPoints[], int yPoints[], int size) {
for (int i = 0; i < size - 1; i++) {
if (x >= xPoints && x <= xPoints[i + 1]) {
// Linear interpolation
float slope = (yPoints[i + 1] - yPoints) / (xPoints[i + 1] - xPoints);
return yPoints + slope * (x - xPoints);
}
}
// Return 0 if the value is outside the range
return 0;
}
Step 3: Wiring the Arduino Board
Bring your Fuel lever sending wire (Purple at the pump connector on an LSJ car) and wire it into the A0 input pin on the board. On your LCD screen Connect the SDA wire to Pin A4, SCL to A5, VCC to 5V, and GND to the GND pin. The LCD connections can be done using the supplied wires that come with the screen. The fuel lever wire ive just stripped back the wire and put it into the pin. In the coming weeks ill be trimming out my dashboard and getting a 3d printed case to mount the board and have a more permanent solution. I built a dashboard out of ABS plastic and plan on flush mounting the LCD screen from the back.
I have tested the setup by driving until I had 20% gas left and went to the pump and added in gas an watched the gauge climb in relation to the gas being put in. as far as I'm concerned this is a success for me. You could maybe try and tweak the float in the pump to get it to read on the upper range as well but I'm not too concerned about it since I have accuracy on the lower ranges.
Here are the numbers for the Fuel level to % Values
Future plans will be to also wire in the IAT2 sensor and possibly brake temp sensors.
Parts i ordered:
-LCD screen used
-Arduino Uno Board
-USB Cable to power the board
Step 1: Measure voltage from Gas Tank
I completely drained the tank to Empty and then measured voltage at the fuel pump and charted the voltage readings and i added in 1/2 gallon of gas at a time.
On an LSJ powered goblin the wire to read the voltage from is the purple wire. I cannont speak on any other trim levels. Below are the readings taken incase someone else
can use this info on another type of project.
Gallons-Voltage
0.0 - 2.614V
0.5- 2.614V
1.0- 2.42V
1.5- 2.167V
2.0- 2.014V
2.5-1.842V
3.0- 1.687V
3.5-1.563V
4.0-1.473V
4.5- 1.356V
5.0- 1.257V
5.5- 1.180V
6.0-1.044V
6.5- 0.928V
7 to 9 - 0.8V
as noted the readings from 7-9 gallons does not change. sure it would be nice to have it read all the way to 100% full but im more concered about running out of gas
and if im within those first 2 gallons i probably just got gas very recently lol
Step 2: download arduino software and upload code onto arduino
I would like to start by saying I am in no way a computer coding/software guy. No shame here in admitting I used ChatGPT to help write this entire thing LOL.
plug in your arduino board into your PC and download the Arduino Software from their website. Copy and paste the below code and then click sketch at the top and then upload. You may have to download a library from the left tool bar. In the search bar search Liquid Crystal I2C and click download.
#include <Wire.h>
#include <LiquidCrystal_I2C.h>
const int analogPin = A0;
const float referenceVoltage = 5.0;
// Calibration data
const int numCalibrationPoints = 18;
float voltagePoints[numCalibrationPoints] = {0.800,.928,1.044,1.180,1.257,1.356,1.473,1.563,1.687,1.842,2.014,2.167,2.420,2.614 /* Add 16 more voltage points */};
int percentagePoints[numCalibrationPoints] = {77,72,66,61,55,50,44,38,33,28,22,16.5,11,5.5,0 /* Add 16 more percentage points */};
LiquidCrystal_I2C lcd(0x27, 20, 4);
void setup() {
Serial.begin(9600);
lcd.init();
lcd.init();
lcd.backlight();
lcd.setCursor(6, 0);
lcd.print("DF Goblin");
lcd.setCursor(0, 1);
lcd.print("Fuel Level");
}
void loop() {
int sensorValue = analogRead(analogPin);
// Map raw sensor reading to voltage
float voltage = sensorValue * (referenceVoltage / 1023.0);
// Non-linear correction using interpolation
int percentage = interpolate(voltage, voltagePoints, percentagePoints, numCalibrationPoints);
lcd.setCursor(11, 1);
lcd.print(percentage);
lcd.setCursor(13, 1);
lcd.print("%");
delay(1000);
}
// Function to interpolate non-linear correction
int interpolate(float x, float xPoints[], int yPoints[], int size) {
for (int i = 0; i < size - 1; i++) {
if (x >= xPoints && x <= xPoints[i + 1]) {
// Linear interpolation
float slope = (yPoints[i + 1] - yPoints) / (xPoints[i + 1] - xPoints);
return yPoints + slope * (x - xPoints);
}
}
// Return 0 if the value is outside the range
return 0;
}
Step 3: Wiring the Arduino Board
Bring your Fuel lever sending wire (Purple at the pump connector on an LSJ car) and wire it into the A0 input pin on the board. On your LCD screen Connect the SDA wire to Pin A4, SCL to A5, VCC to 5V, and GND to the GND pin. The LCD connections can be done using the supplied wires that come with the screen. The fuel lever wire ive just stripped back the wire and put it into the pin. In the coming weeks ill be trimming out my dashboard and getting a 3d printed case to mount the board and have a more permanent solution. I built a dashboard out of ABS plastic and plan on flush mounting the LCD screen from the back.
I have tested the setup by driving until I had 20% gas left and went to the pump and added in gas an watched the gauge climb in relation to the gas being put in. as far as I'm concerned this is a success for me. You could maybe try and tweak the float in the pump to get it to read on the upper range as well but I'm not too concerned about it since I have accuracy on the lower ranges.
Here are the numbers for the Fuel level to % Values
- 0 gallons: 0%
- 0.5 gallons: 5.56%
- 1 gallon: 11.11%
- 1.5 gallons: 16.67%
- 2 gallons: 22.22%
- 2.5 gallons: 27.78%
- 3 gallons: 33.33%
- 3.5 gallons: 38.89%
- 4 gallons: 44.44%
- 4.5 gallons: 50%
- 5 gallons: 55.56%
- 5.5 gallons: 61.11%
- 6 gallons: 66.67%
- 6.5 gallons: 72.22%
- 7 gallons: 77.78%