Read the rear end alignment thread first: http://dfkitcar.com/forum/index.php?threads/diy-rear-end-alignment.750/#post-12342
Here's how we align the front end of our shop cars:
Note: these instructions assume that you adjusted your control arm rod ends the way we showed in the instructional video.
The first step is to adjust the ride height using the locking nuts on the bottom of the coilovers. Adjust the height until the lower control arm is level with the ground when viewed from the front.
Next you'll want to set the caster. We use the digital angle finder to do this. We zero the angle finder to the top of the tunnel (the screen of the angle finder needs to face the driver or passenger side of the car not the front and back). Then we place the angle finder on the smooth parts of the top two studs of the bearing hub.
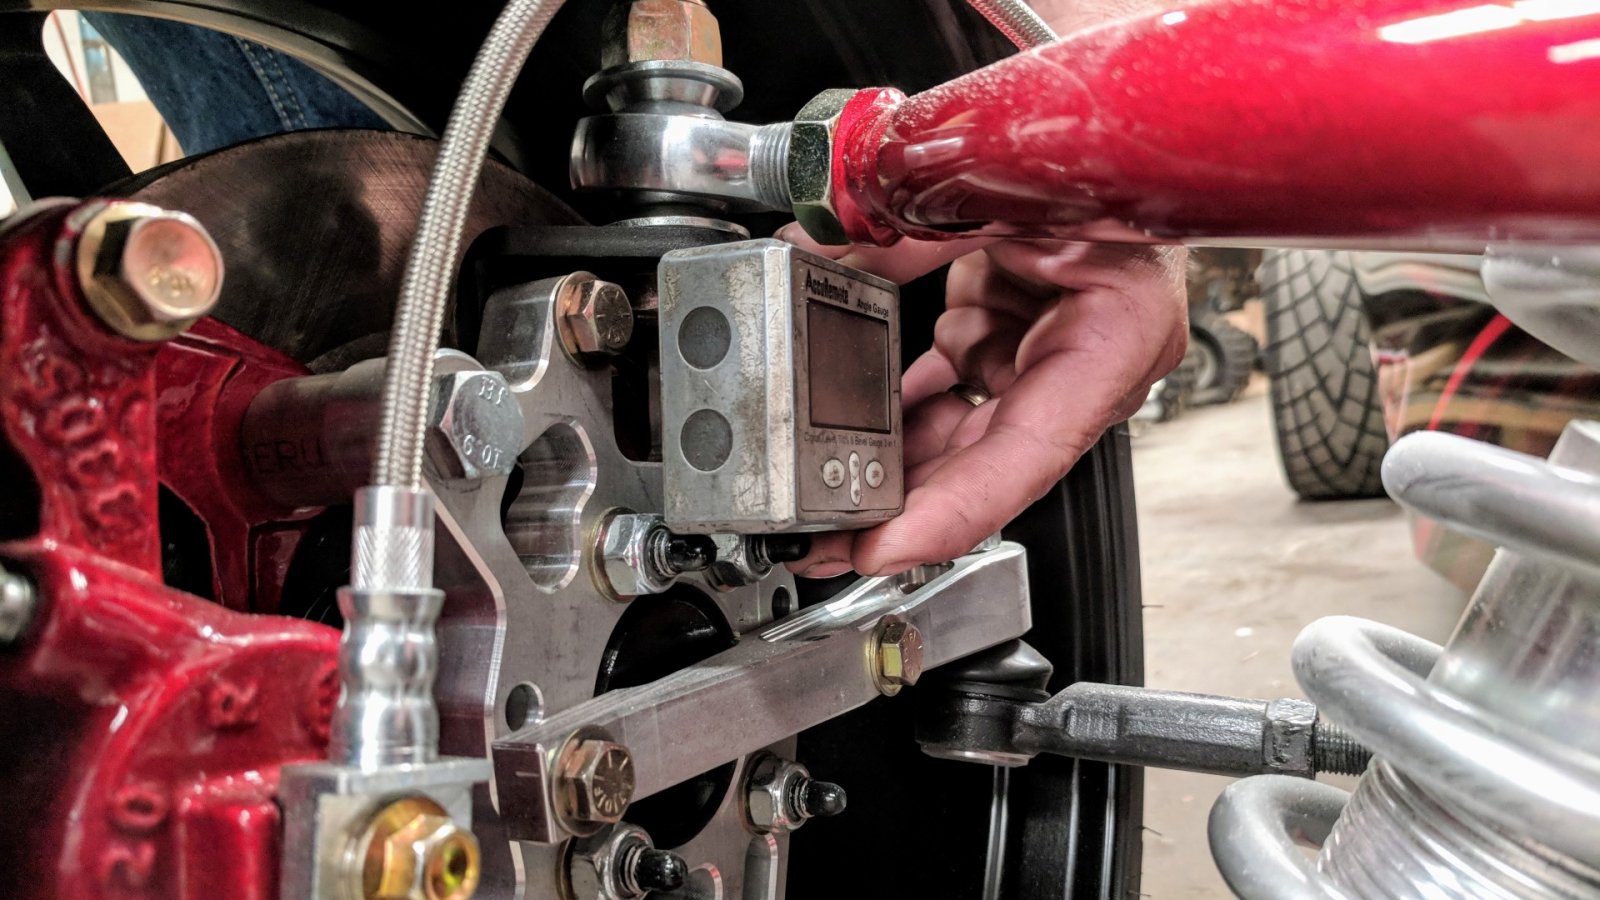
We shoot for 8.5 to 9.5 degrees. When you measure the other side of the car, it is best if you rezero on the tunnel cap with the screen facing the other way. If you just spin the level around you can end up with weird results if your tunnel cap isn't level to the world.
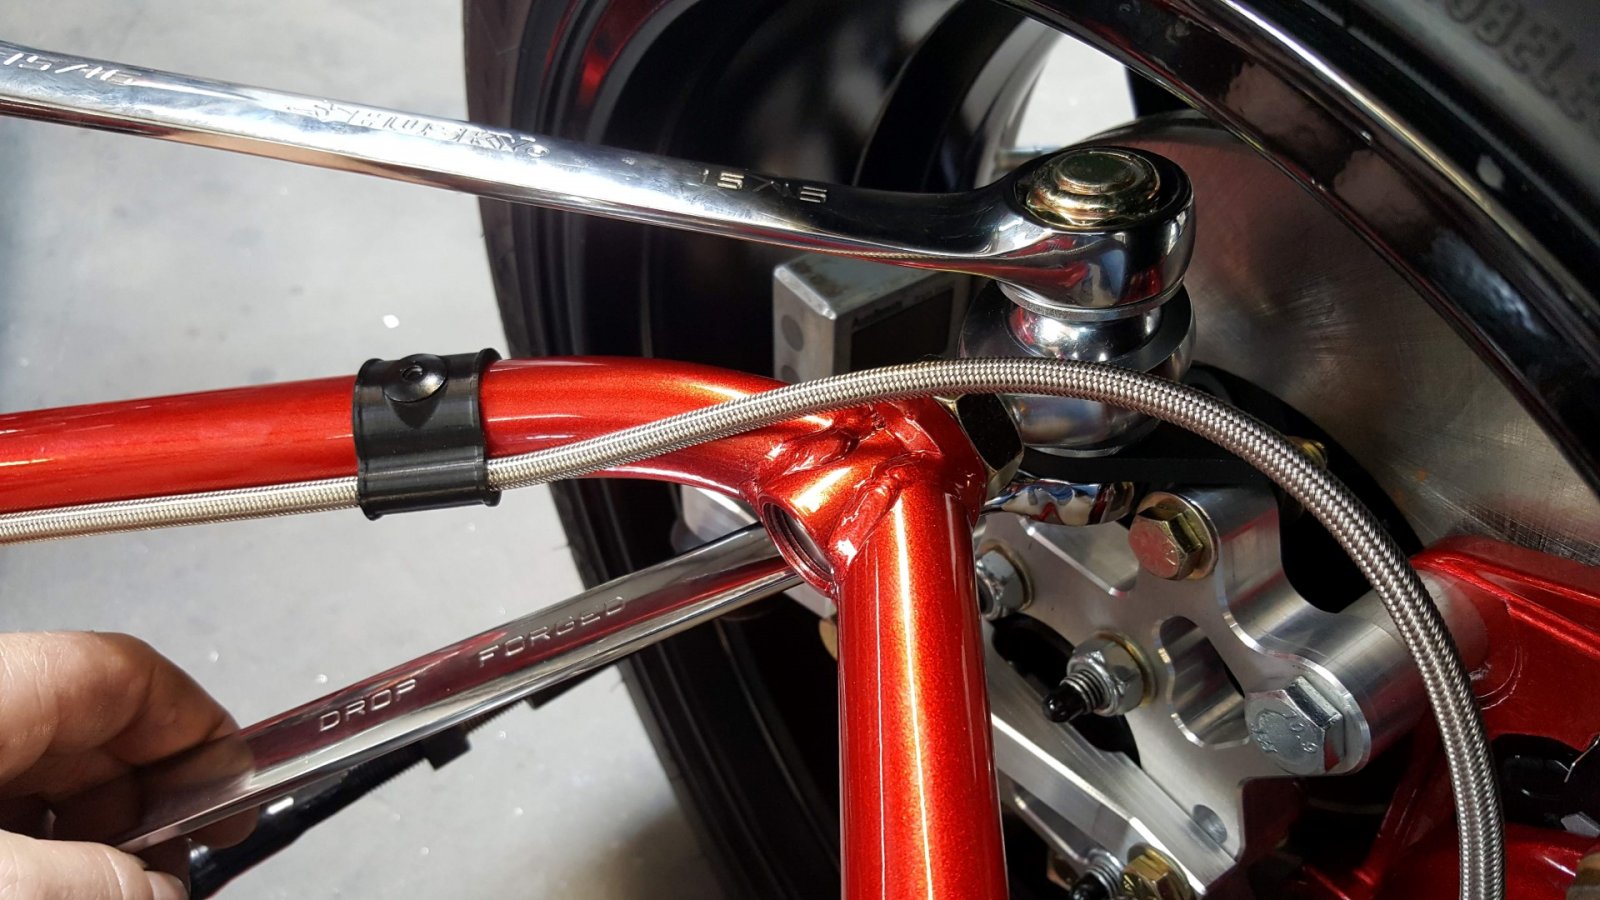
Use the inner rod ends to adjust caster.
Next, the camber needs to be set. Zero the digital angle finder to the main hoop and then check the camber at each of the front rotors. Same as the rear, we shoot for 1.5 degrees of negative camber (top of the tire leans in toward the car).
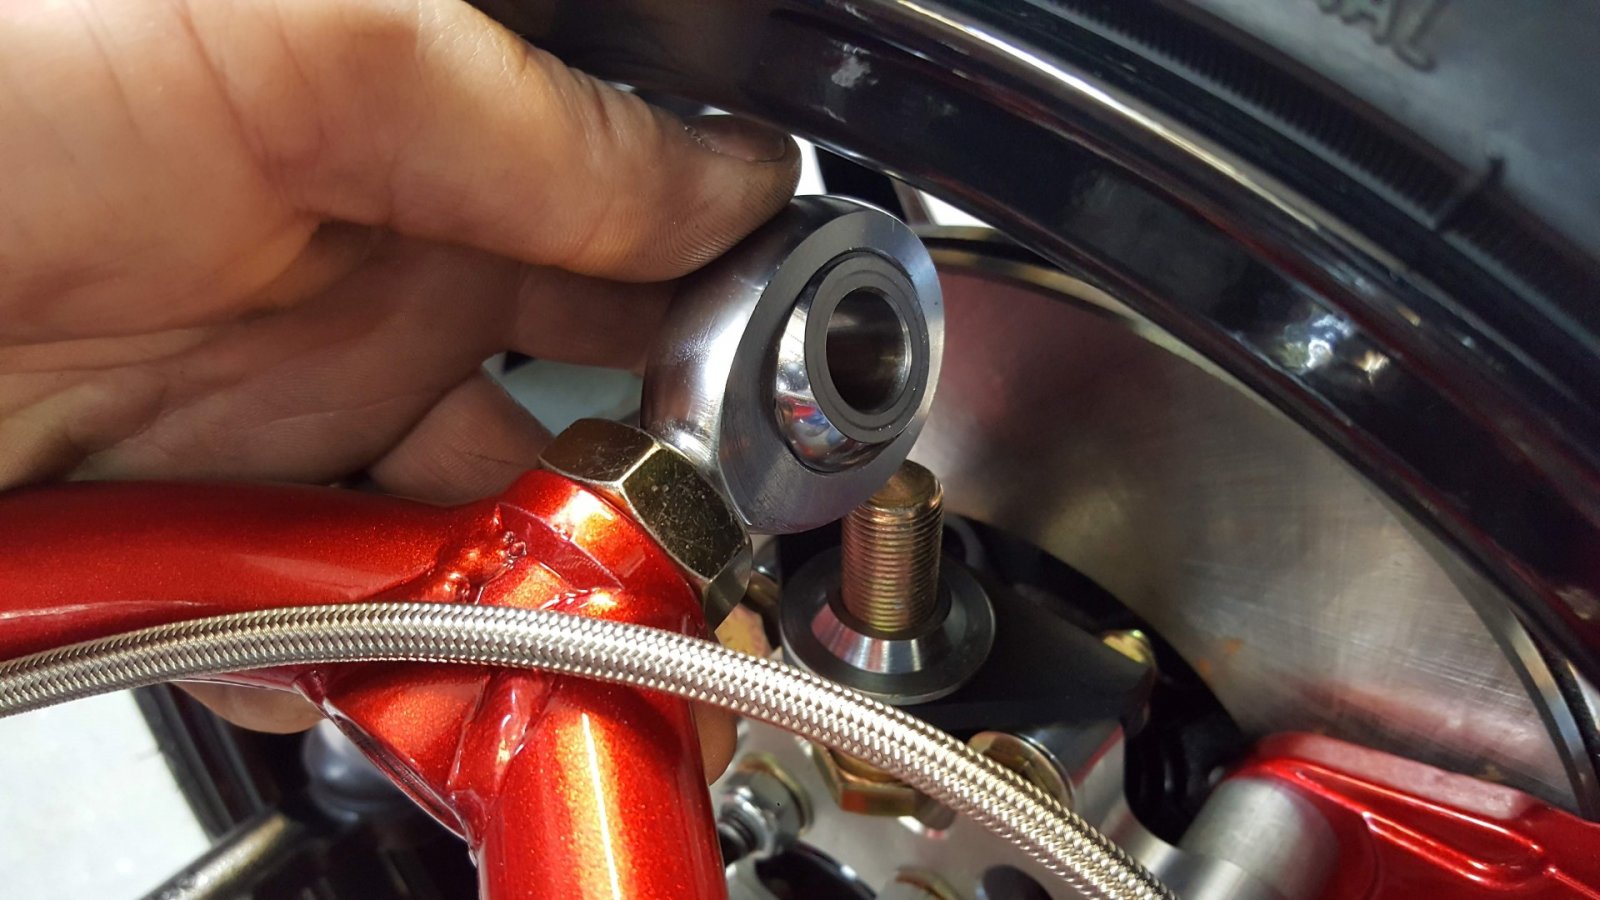
To adjust the camber, you'll need to disconnect the outer rod end of the upper control arm and thread it in or out to get to 1.5 degrees. Do this on both sides of the car.
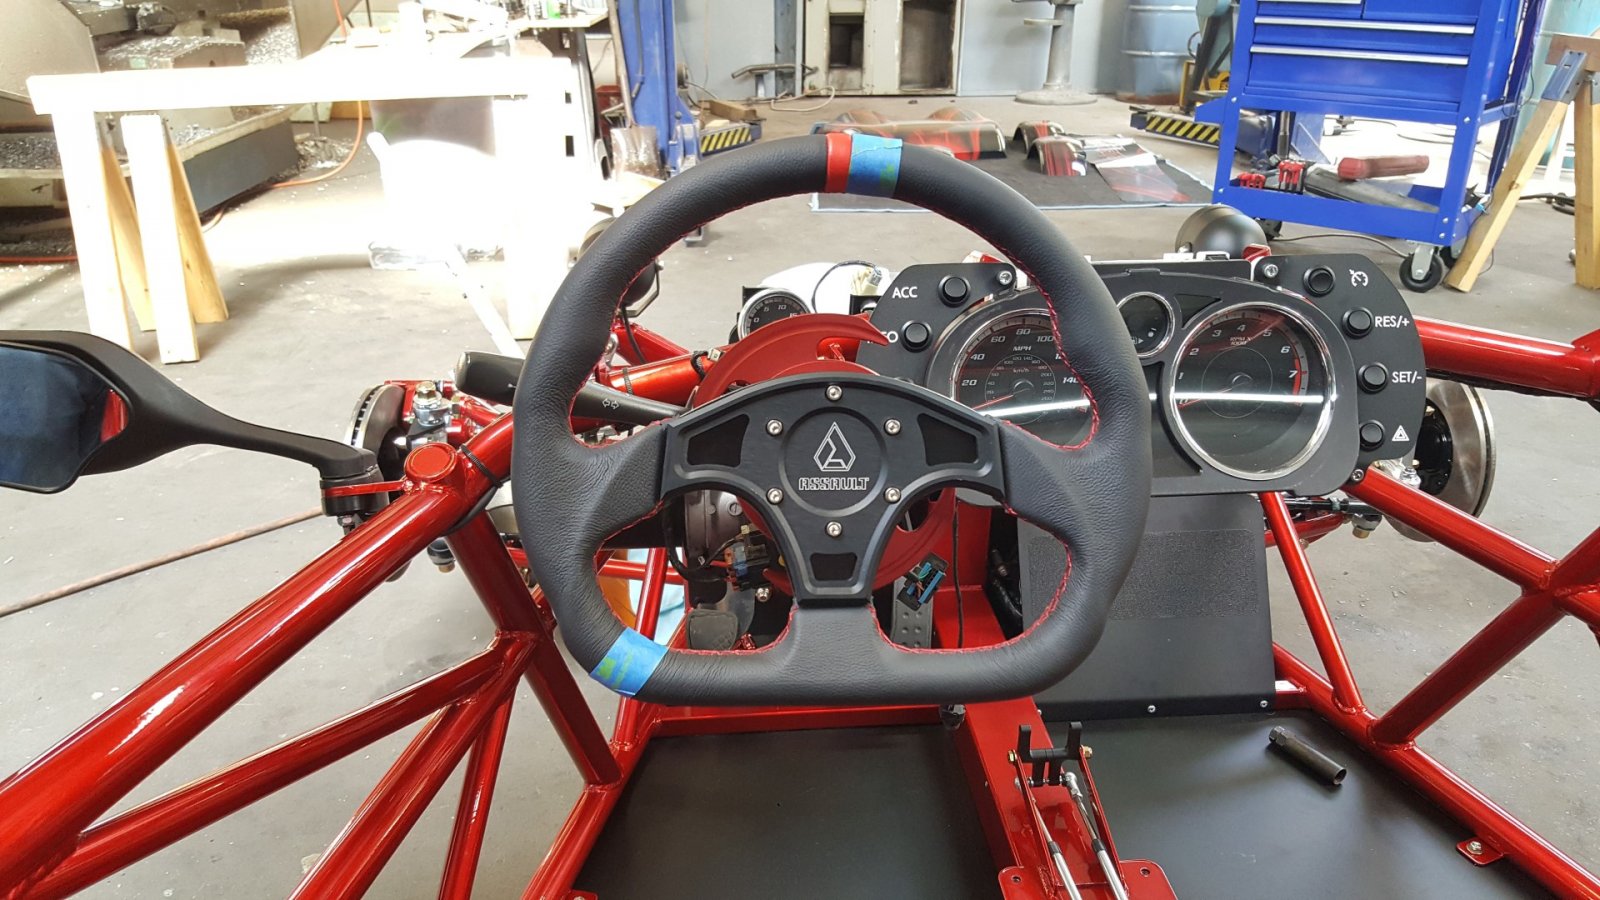
Once the camber is set, you need to center up the steering rack. Steer the wheel all the way to the left until it hits the stop. Wrap a piece of masking tap around the steering wheel in the 12 o'clock position. Count the number of turns as you steer all the way to the right until it hits the other stop. Put another piece of masking tape at the 12 o'clock position.
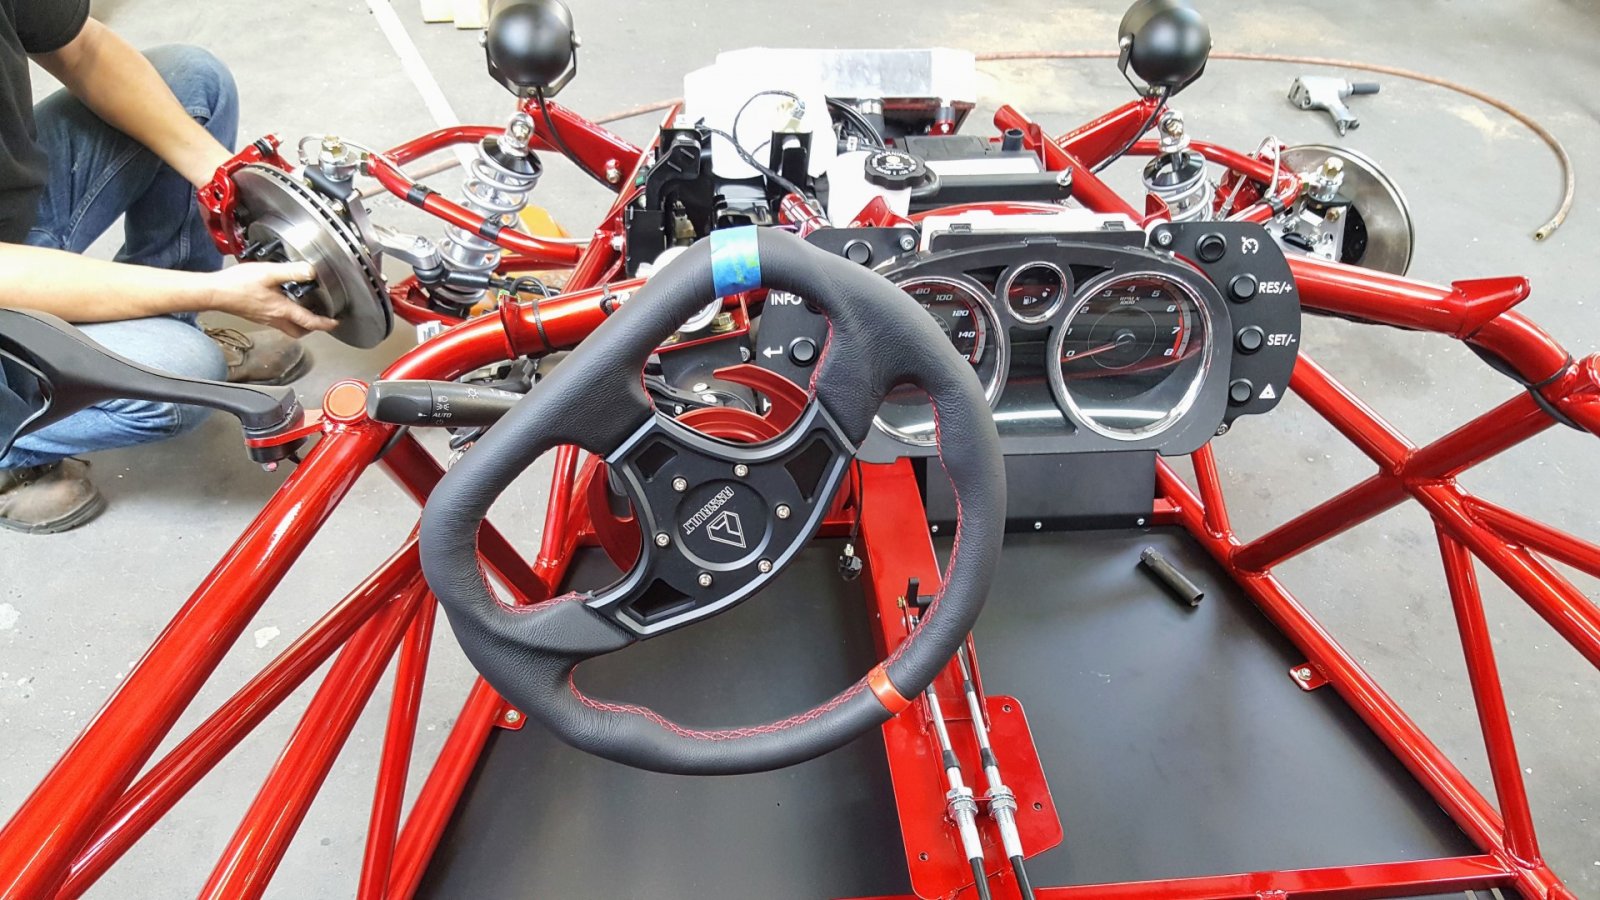
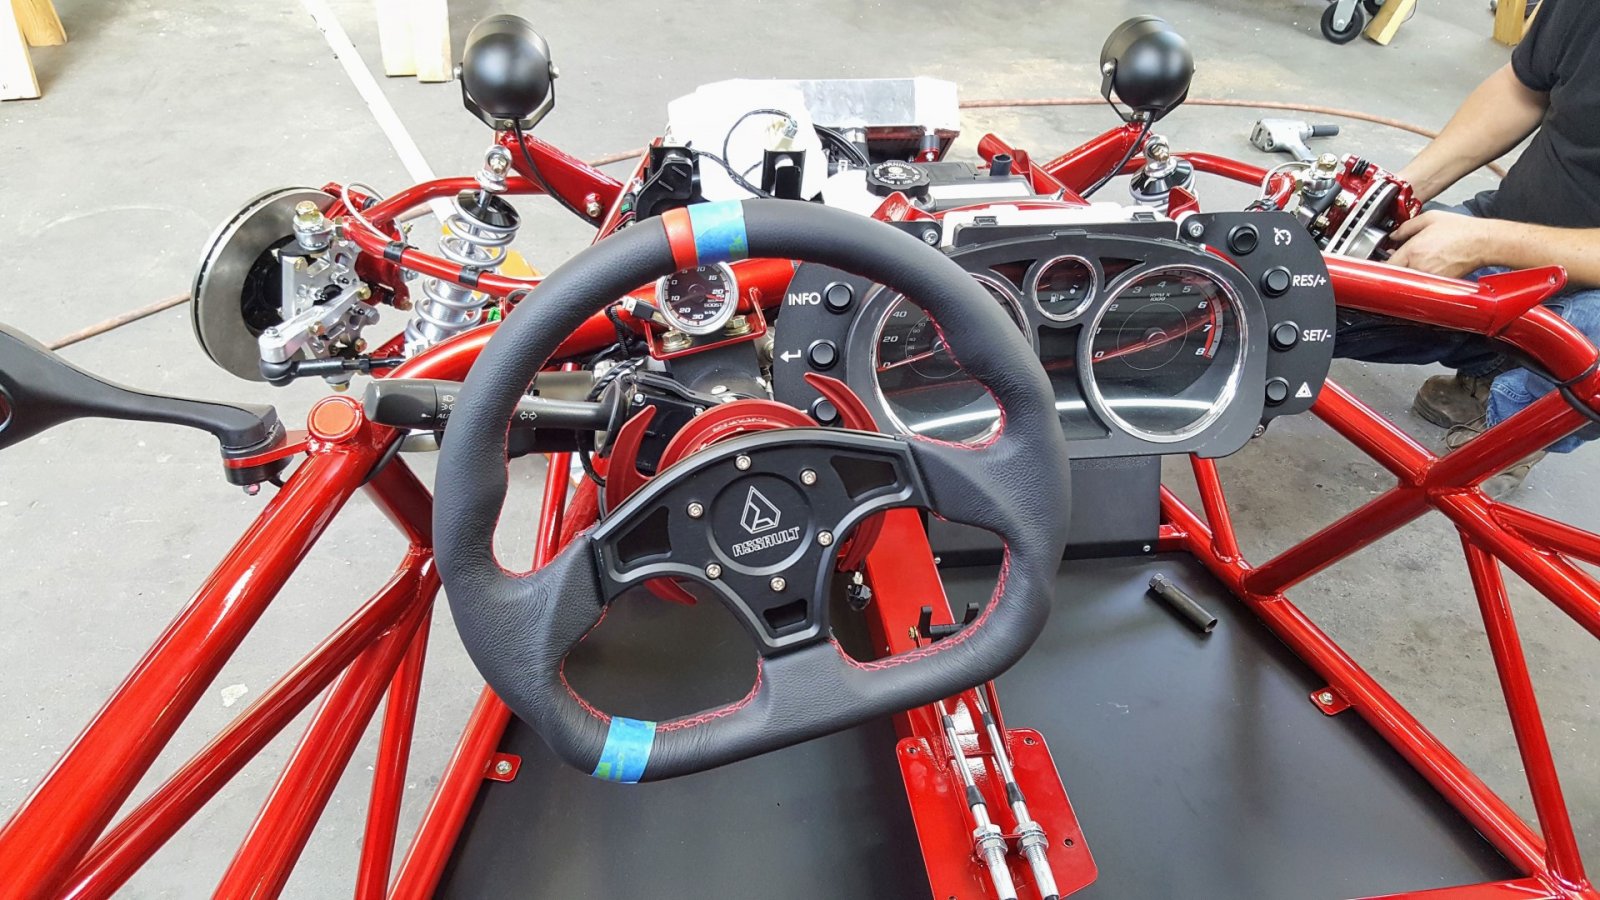
The amount of turns it takes to get to the stops varies between Cobalt trims. Turn back half of the turns you counted. Balance the tape markers left and right so that a point right between them is at 12 o'clock.
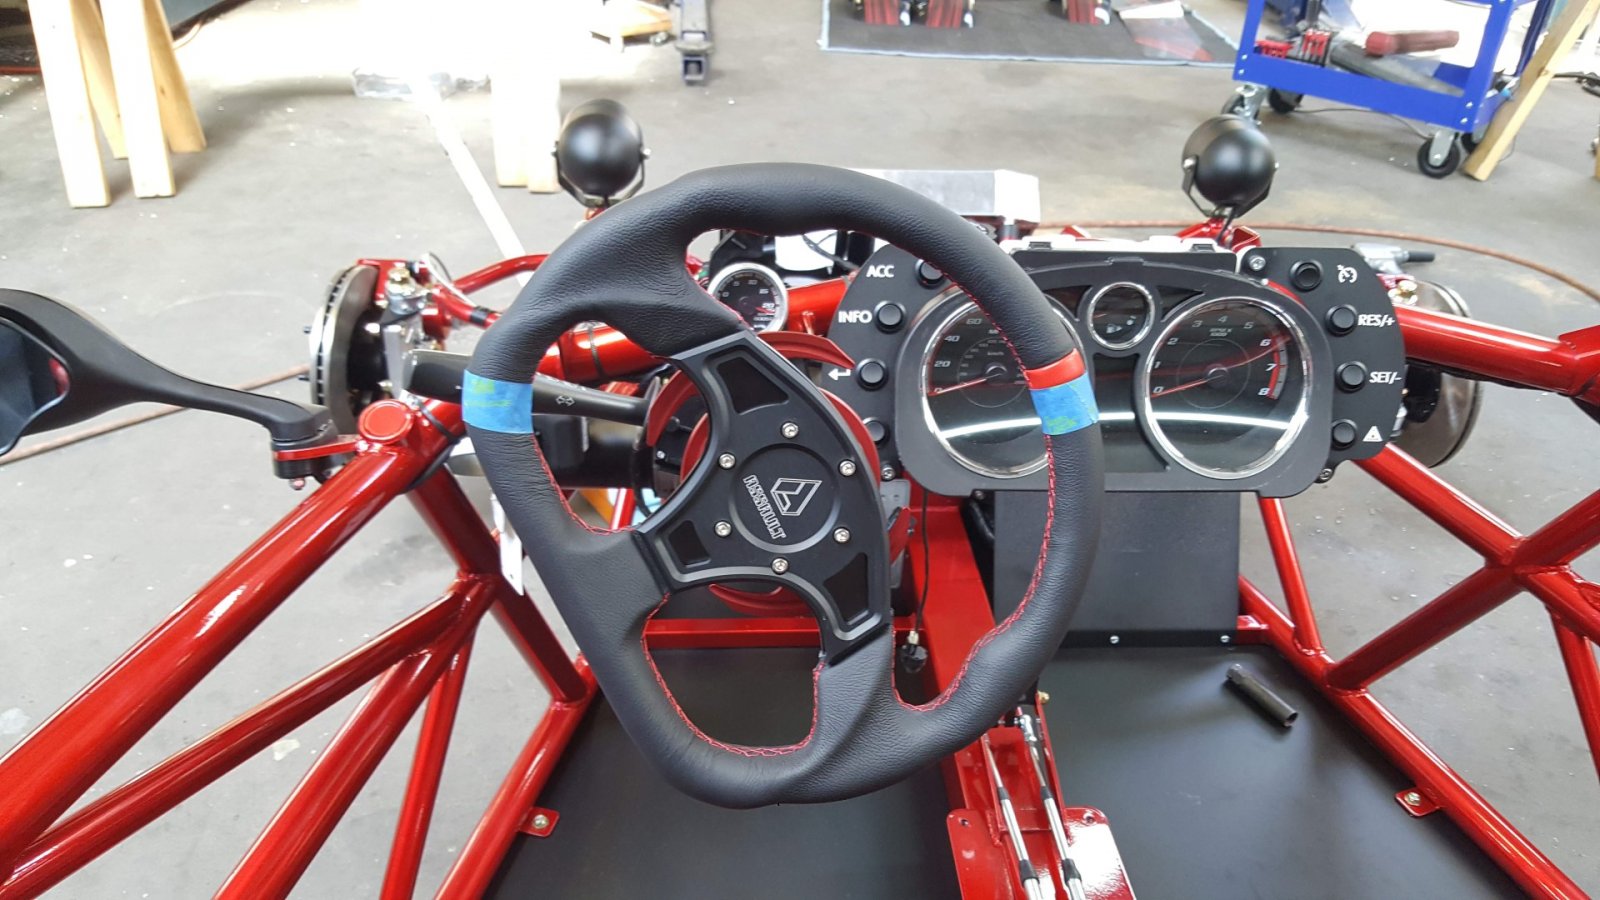
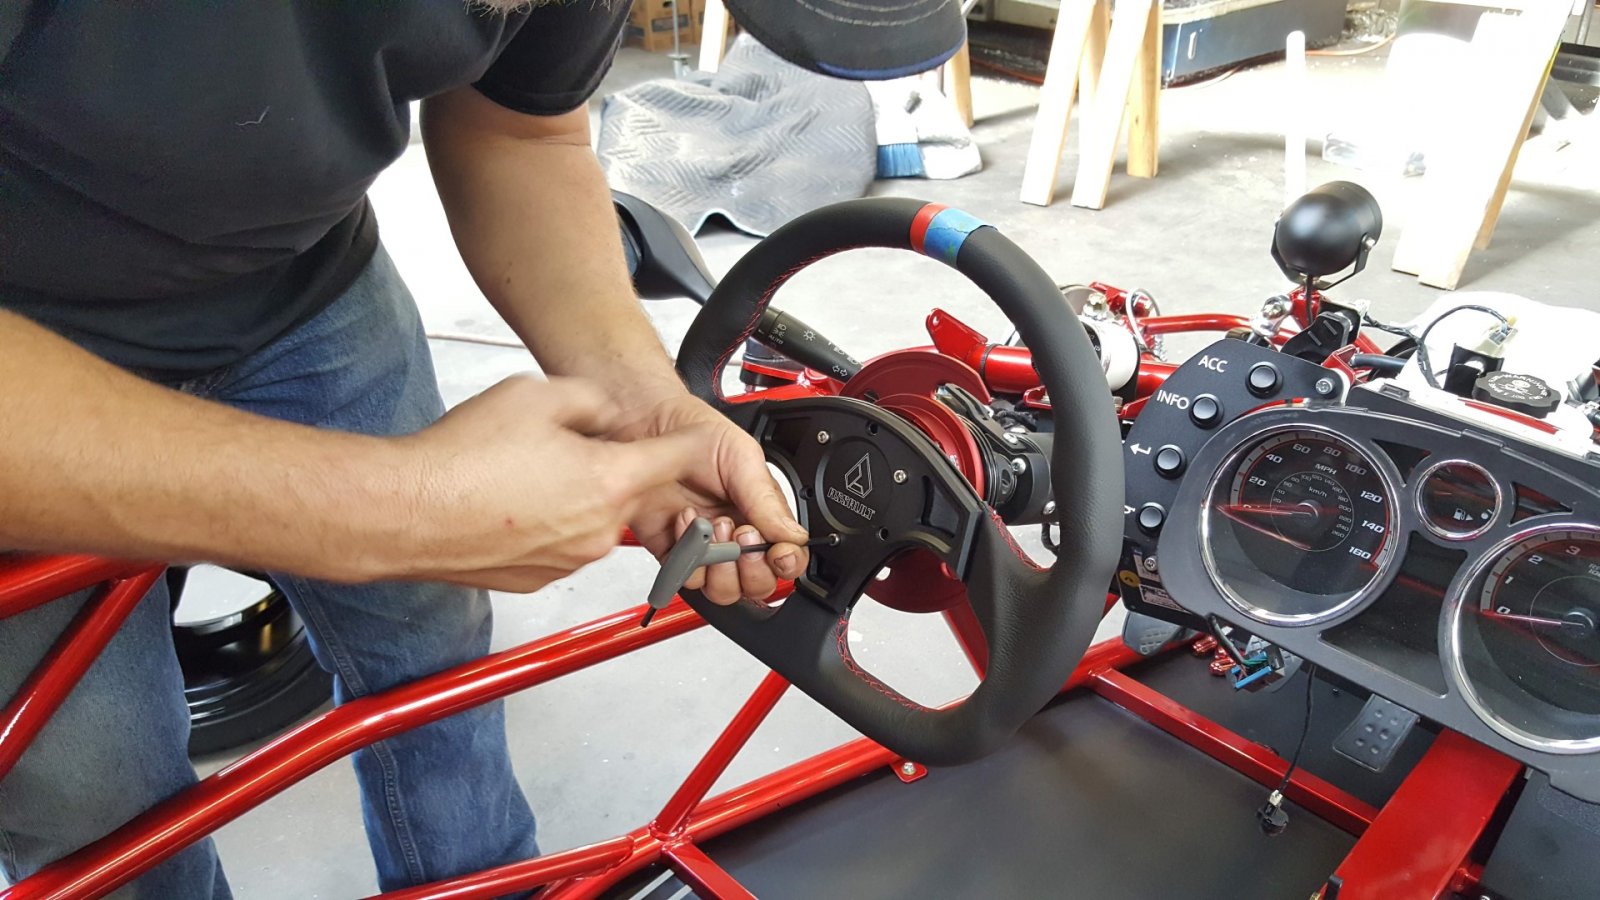
Remove the steering wheel and align it the best you can without moving the steering rack. This will make it to where your steering wheel is centered up when you are driving straight. You want to get as close as you can now so that you only have to fine tune it later by adjusting the tie rods. If you can't align the wheel by just reclocking it on the spline adapter, you might need to pull the spline adapter off of the steering shaft and use it to reclock the steering wheel. (When we use the standard steering wheel we like to aim one of the spokes of the wheel at the 12 o'clock position so that there isn't a spoke blocking the speedometer when driving straight down the road).
The next step is to set the front toe. The process is just like setting the rear toe (http://dfkitcar.com/forum/index.php?threads/diy-rear-end-alignment.750/#post-12342). Use toe plates to set the toe to 1/8" toe in.
Once you have the toe set, drive the car to see if the steering wheel is centered when you are driving straight. If it is not, you can fine tune it by adjusting the front toe rods. You'll do this by screwing in one tie rod and screwing out the other tie rod. Be sure to adjust the tie rods equally (just in different directions).
Here's how we align the front end of our shop cars:
Note: these instructions assume that you adjusted your control arm rod ends the way we showed in the instructional video.
The first step is to adjust the ride height using the locking nuts on the bottom of the coilovers. Adjust the height until the lower control arm is level with the ground when viewed from the front.
Next you'll want to set the caster. We use the digital angle finder to do this. We zero the angle finder to the top of the tunnel (the screen of the angle finder needs to face the driver or passenger side of the car not the front and back). Then we place the angle finder on the smooth parts of the top two studs of the bearing hub.
We shoot for 8.5 to 9.5 degrees. When you measure the other side of the car, it is best if you rezero on the tunnel cap with the screen facing the other way. If you just spin the level around you can end up with weird results if your tunnel cap isn't level to the world.
Use the inner rod ends to adjust caster.
Next, the camber needs to be set. Zero the digital angle finder to the main hoop and then check the camber at each of the front rotors. Same as the rear, we shoot for 1.5 degrees of negative camber (top of the tire leans in toward the car).
To adjust the camber, you'll need to disconnect the outer rod end of the upper control arm and thread it in or out to get to 1.5 degrees. Do this on both sides of the car.
Once the camber is set, you need to center up the steering rack. Steer the wheel all the way to the left until it hits the stop. Wrap a piece of masking tap around the steering wheel in the 12 o'clock position. Count the number of turns as you steer all the way to the right until it hits the other stop. Put another piece of masking tape at the 12 o'clock position.
The amount of turns it takes to get to the stops varies between Cobalt trims. Turn back half of the turns you counted. Balance the tape markers left and right so that a point right between them is at 12 o'clock.
Remove the steering wheel and align it the best you can without moving the steering rack. This will make it to where your steering wheel is centered up when you are driving straight. You want to get as close as you can now so that you only have to fine tune it later by adjusting the tie rods. If you can't align the wheel by just reclocking it on the spline adapter, you might need to pull the spline adapter off of the steering shaft and use it to reclock the steering wheel. (When we use the standard steering wheel we like to aim one of the spokes of the wheel at the 12 o'clock position so that there isn't a spoke blocking the speedometer when driving straight down the road).
The next step is to set the front toe. The process is just like setting the rear toe (http://dfkitcar.com/forum/index.php?threads/diy-rear-end-alignment.750/#post-12342). Use toe plates to set the toe to 1/8" toe in.
Once you have the toe set, drive the car to see if the steering wheel is centered when you are driving straight. If it is not, you can fine tune it by adjusting the front toe rods. You'll do this by screwing in one tie rod and screwing out the other tie rod. Be sure to adjust the tie rods equally (just in different directions).
Last edited: