Fenix's Goblin #461 - 2010 Base Auto

Fenix Nexen

Well-Known Member
Got some of stage 2 in the mail today. Is there a proper way to orientate the intake? And where does the brass fitting next to the maf go to?
17127031179094629032588254575894.jpg
 

Desert Sasqwatch

Goblin Guru
Air filter out of the direct airstream, but still where it can get cooler air. The buffering in the airstream can mess with the MAF. The brass fitting is connected to the valve cover port - should be one open (or did you put an open filter on that port - I see one in the pic).
 

Fenix Nexen

Well-Known Member
Air filter out of the direct airstream, but still where it can get cooler air. The buffering in the airstream can mess with the MAF. The brass fitting is connected to the valve cover port - should be one open (or did you put an open filter on that port - I see one in the pic).
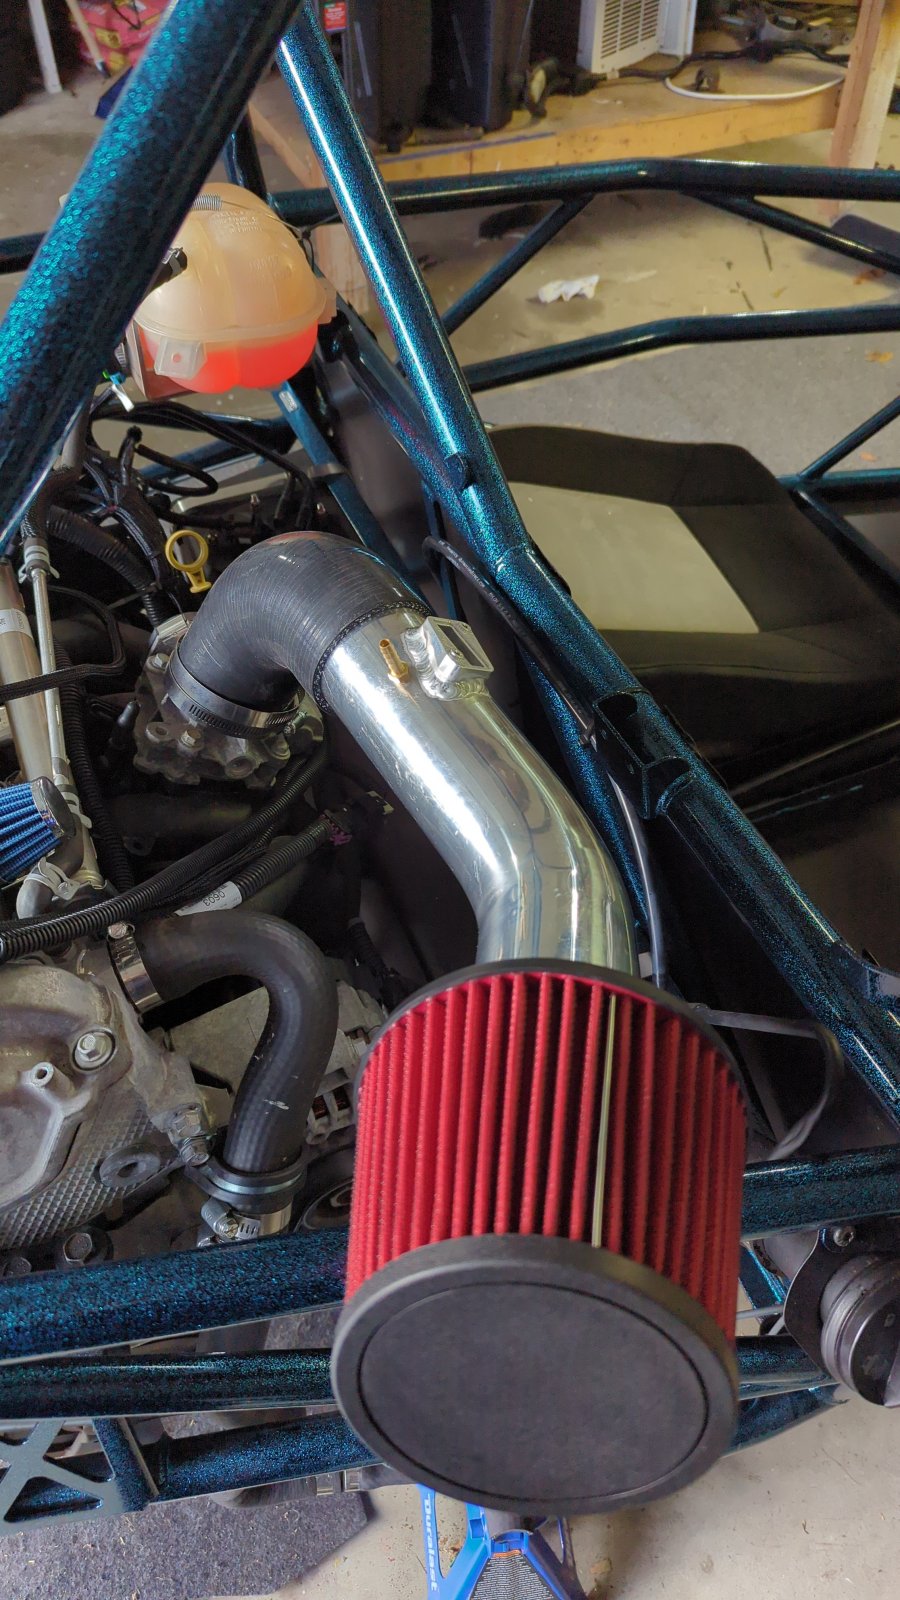
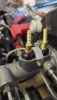
I put an open filter on it. I'm not sure if I have the hose necessary. After some fandangling I got it to this position here:
17127080618115122618676019056925.jpg
 

Fenix Nexen

Well-Known Member
The fittings are of different sizes as well I'm not sure what kind of hose I'd need to make it work or a adapter or hose is supplied
 

Joebob

Goblin Guru
As for the air filter routing, here is how it worked best for me. Make sure that the filter is at the end of the aluminum pipe. if the filter is installed too far into the pipe, it also messes up the sensor.

For the PCV hose, I got some 3/8" hose and inserted into a small length of the original breather hose to make the adaptation.

For the brakes, I would make sure you install some sealant as the brake fluid will slowly weep past. I didn't and have tied a rag around the fittings as I didn't want to break anything apart as brake bleeding afterwards can be difficult. I also changed the MC fittings to 90 degree elbows to have the hoses lay a bit flatter so they won't hold any air bubbles. I also removed the reservoir during the filling and raised it up to the high point to reduce trapped air.

46688


Joe
 

Fenix Nexen

Well-Known Member
As for the air filter routing, here is how it worked best for me. Make sure that the filter is at the end of the aluminum pipe. if the filter is installed too far into the pipe, it also messes up the sensor.

For the PCV hose, I got some 3/8" hose and inserted into a small length of the original breather hose to make the adaptation.

For the brakes, I would make sure you install some sealant as the brake fluid will slowly weep past. I didn't and have tied a rag around the fittings as I didn't want to break anything apart as brake bleeding afterwards can be difficult. I also changed the MC fittings to 90 degree elbows to have the hoses lay a bit flatter so they won't hold any air bubbles. I also removed the reservoir during the filling and raised it up to the high point to reduce trapped air.

View attachment 46688

Joe
Thanks for the advice! The filter is on correctly and I made a adaption seen here: 17127630581874494897714454014373.jpg

As for the brake reservoir I'm now using red loctite, keeping the original fittings but will be raising the tank high up when it comes for brake bleeding: 17127631964524422932068853928132.jpg
 

Robinjo

Goblin Guru
As for the brake reservoir I'm now using red Loctite, keeping the original fittings but will be raising the tank high up when it comes for brake bleeding
Save yourself some pain and buy this. I thought doing it the old way was ok, this makes it a one person job. It takes me longer to fill the container than it does to bleed the brakes. This will not be the last time you bleed the brakes.
 

Fenix Nexen

Well-Known Member
Installed the quick release steering wheel. Did not use the horn wires, followed a guide I found on the forum and it helped a lot. All screws in the L32B bag was accounted for, however I still need 3 screws and three screws left over that don't seem to go anywhere
17127815755524716425065645937731.jpg
PXL_20240410_201444709.jpg

PXL_20240410_201507308.jpg
PXL_20240410_201517307.jpg
 

Ark :D

Goblin Guru
That hardware holds your turn signal switch.

Also, you're going to need to put some space between the turn signal deactivator piece (for lack of a better term) and the three bolts under it.
 

Fenix Nexen

Well-Known Member
That hardware holds your turn signal switch.

Also, you're going to need to put some space between the turn signal deactivator piece (for lack of a better term) and the three bolts under it.
The screws shown are actually too small of a thread size, so I'm confused.
 

Fenix Nexen

Well-Known Member
I ordered some bolts hopefully the right size. Did some spray painting the steel knuckle brackets. Waiting on stuff from powder coating and the second half of stage 2 from df. I will be spray painting the rear control arms and cv axles soon, semi gloss black. I went too hard on the brass fitting for the brake res and broke it, managed to get it out and ordered a replacement, will be more careful next time. One step at a time...

46767
 

Fenix Nexen

Well-Known Member
Not much done today, got the hoses to the brake res installed and managed to pull the parking brake and accessories from the donor, feeling confident in getting the donor hauled off now. Waiting on df to ship more parts is a hard wait, and also waiting on stuff at powder coating. Im not going to rivet the tunnel cap, will figure something else out to make it easier to remove it if I ever need to
 
Top