
• We've upgraded and reskinned the forum. Notice something off? Email us at [email protected] and we'll fix it.

V1 SliderR1's Track Goblin - 05 SS/SC

SliderR1
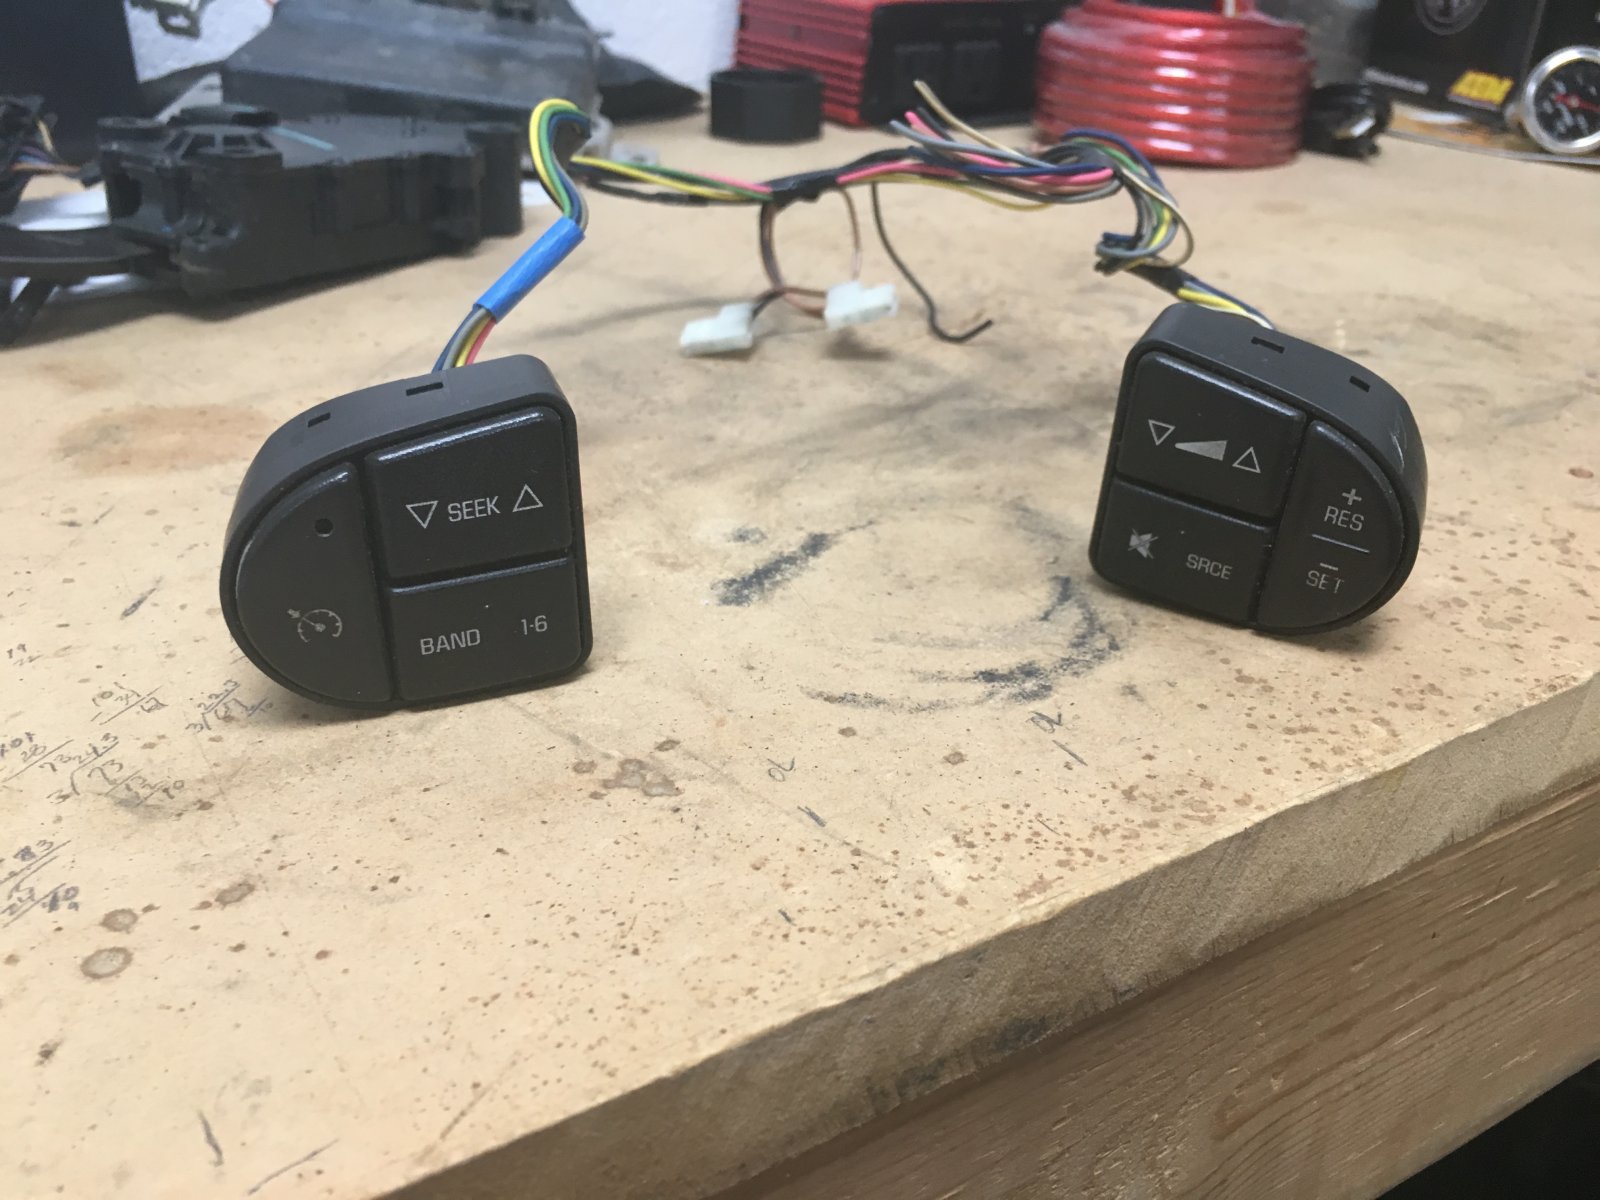
I got the wiring harness 99% complete now. I just zip tied everything until I can get it in the car and confirm everything works. Since mine was an older donor, the steering wheel buttons were quite a bit different. Had to do some research when I got to that part. The '05 has the 'info and enter' button on the dash just right of the steering column. I'm planning to reuse those buttons, as-is, just mounted somewhere near the gauge panel on the Goblin. It would be cool to find a slick way to reuse these old steering wheel buttons without it looking jank. I might try to whip up some kind of housing in CAD that can be mounted to my new steering wheel and 3D print it. Of course the buttons won't be controlling the radio - I'm thinking line lock and possibly NO2...
IMG_3965.JPG


I've also been shaking out all the stage 1 and 2 parts and setting everything up on tables in the build area. Found a few missing parts so far and the guys at DF said its gonna be a few weeks...

Also working on getting donor parts prepped for paint.

Taking the chassis to a powdercoat shop tomorrow to get a quote. Once I get my seat bars welded in it will be ready to drop off. While I'm waiting on the chassis, I'm going to start working on getting the engine cleaned up.

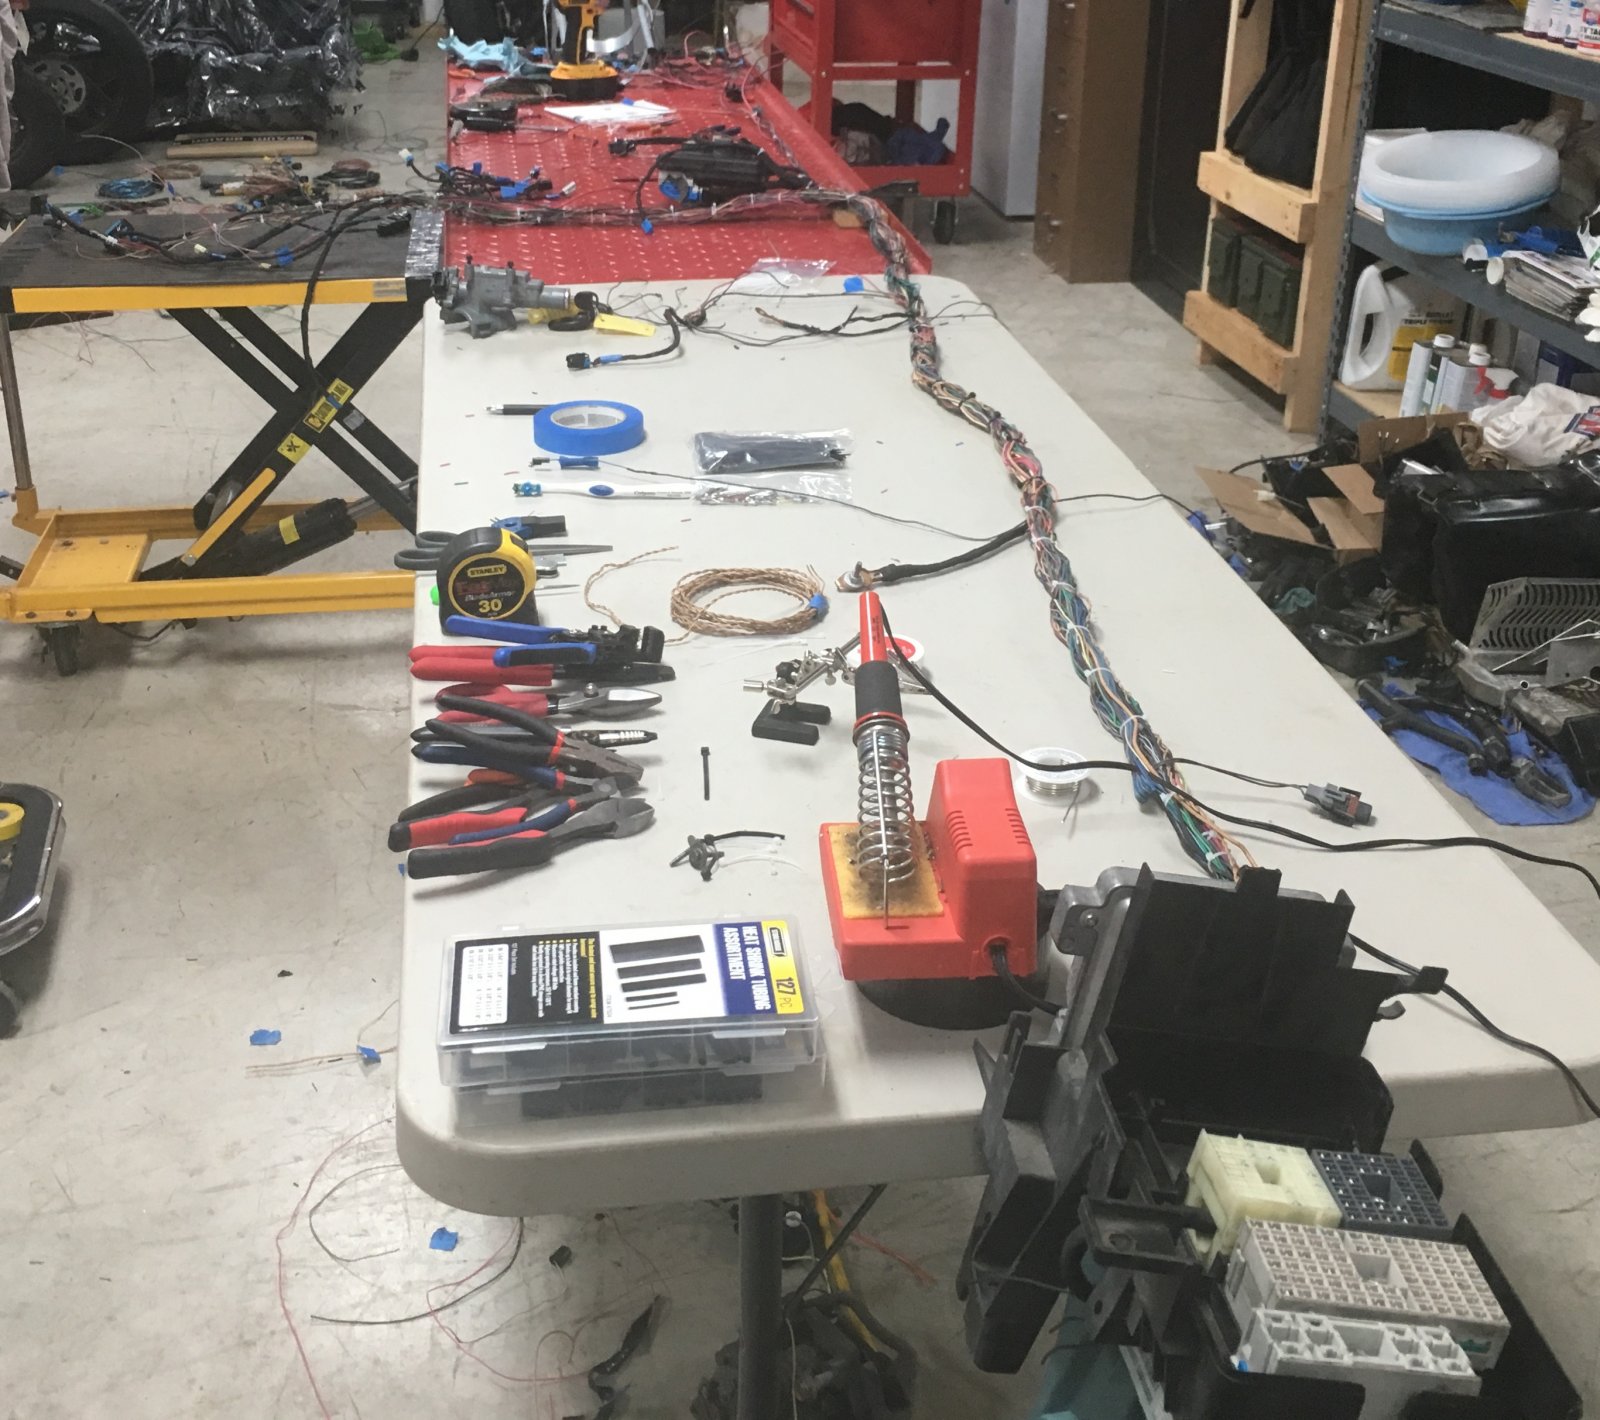
Here is the harness. I actually enjoyed reworking the harness...
IMG_3954res.jpg
 
B
I really enjoy the harness work too. Some people will spend countless hours to get their engine prepped and painted, then there is me who will spend a lot of hours on something that will never be seen.

There's something about a nice, freshly wrapped harness that is oddly satisfying to me.
 
ctuinstra
I really enjoy the harness work too. Some people will spend countless hours to get their engine prepped and painted, then there is me who will spend a lot of hours on something that will never be seen.

There's something about a nice, freshly wrapped harness that is oddly satisfying to me.
I agree. I even de-pined the connectors after washing the harness in thinner and then alcohol. It's clean and non sticky.
 
Waterdriver
I have shop space envy after seeing your picture of the harness laid out.
I don't care what I tell myself, size does matter. Or at least helps. :D

Glad to see you have all the stages at one time. Now the visual rewarding part begins. Parts going on the chassis!
 
SliderR1
You are right about size. I have more space in our current location to work than I did at the last place; however, I'd really like to have more. I've passed up several great projects because I have no where to put them... I can't complain though, my wife and I have been blessed with what we have.

Having all these parts is definitely motivation to get things moving along. I met with a powdercoater today and was happy with our discussions and his price. He does a lot of tube frame type work, so I know he has experience. He had three race cars in the shop today. 2 junior dragsters and a late model circle burner. Planning to get my seat bars welded in this weekend and take it over to his place next week. He thought the frame looked really good.
 
SliderR1
Seat bars got welded in over the holiday weekend. I'm not used to having any help when I'm working on stuff - so it was nice to have some family in town to help me with the seat bars.

Planning to take the chassis and other misc. parts to the PC guy tomorrow.

Chassis_Seats.JPG
 
SliderR1
Chassis will be red - going to decide which shade tonight - I'm leaning towards PP Flame Red.

I'm not decided on the hood, skirts and engine cover yet. Probably some sort of mix of black, gray, white and a little red to blend it all in... It will most likely be a wrap. My 5 yr old has requested a patriotic theme, but I don't want it to be overkill. I might try to do something similar to my motorcycle helmet - instead of the US Flag, my painter put a blue star on each side with red stripes coming off of it - something a little different...
 
SliderR1
PC quote was $1200. Includes chassis, engine cradle, fuel tank, front control arms, floor pan, fire wall, footwell wall, bcm kickplate, floor pan bar, wing brackets and bars, maf tube, front suspension uprights, etc.. Basically all the steel and aluminum pieces. Two different colors, red and black.
 
ctuinstra
What seats did you go with? I just can't seem to figure that out. I like the Corbeau seats but I'm afraid my hip bones will be rubbing all the time. I may need something a bit wider. That's something that is going to hold me up from getting the frame coated. I hate to just order something and then find out it's not going to work.
 
Tony
What does it look like? I'm pretty sure I didn't get one of those, unless it's included with stage 3, which should be on its way to my house now.
 
P
The BCM mounts to the front bulkhead which was included with my stage 1 kit.

On mine, I will have to measure and drill out the mounting holes (IAW the stage 1 instructions).

http://dfkitcar.com/forum/index.php?threads/first-stage-assembly-instructions.58/

Preparing to install the Body Control Module (BCM)

Instructions
In future kits, the BCM mount holes will be predrilled but for these first kits you will have to drill your own holes. Use the measurements in the following photo to locate the holes. All dimensions are in inches and to the center of the holes.

http://i.imgur.com/JpChw8u.jpg
 
Back
Top