• We've upgraded and reskinned the forum. Notice something off? Email us at [email protected] and we'll fix it.

V1 Dan Perry - 4" Extended Street

DanPerryy
Back on getting my HHR automatic transmission back onto my engine. Changed the axle seals and the torque converter seal. A bit of a pain. Had to make a couple of tools. The axle seals have a race that is pressed onto the shaft. The race has a seal in it for the CV housing and the seal in the transmission rides on the race. Pulling the race is a bit of a chore.
 
JSATX
Hey Dan I just read back though your thread and regarding the comment about the BCM not being weather resistant....

I use plastidip spray to seal electronic enclosure boxes frequently at work. Makes it almost completly waterproof and not too difficult to peel off if needed.
 
DanPerryy
Transmission and engine all back together, power washed, now ready to start assembly. 4 hours including admiration time. FYI: while removing the transmission you can just unbolt the many bolts connecting it to the block, the torque converter will stay attached to the flywheel. I put one back together with the TC attached to the flywheel - it was a pain. (yet to see if it damaged the transmission TC seal).

Yesterday I put mine back together installing the disconnected TC (slipping it onto) the trans shaft and then putting the trans back onto the engine - much easier. The service manual says to mark the flywheel and TC so they can go back together in the same position. There are only 3 bolts holding the TC to the flywheel. You get to them through the starter hole (removing the starter). Pretty easy. It was really took only on an hour to get it together and bolted up. Several bolt lengths (3-4) holding the trans to the engine. I did not mark mine but if I were to do it again I probably would.
 
DanPerryy
Past 2 Fridays and Saturday AM until I got tired - installed radiator hoses, brake lines, pedal box, steering rack, steering column, BCM, laid in harness, connecting front end wires, routing.

Note: the wires between the instrument panel and the power steering unit are a bit tight. When you lay out you harness separate the connectors as far as possible before taping them. Having a ball!!!
 
DanPerryy
Worked again 4&5 the of November. Wire dressing on front of car. Gauge panel install. OBD mounting bracket, horns, battery cable, vacuum line, brake booster connect, grounds on front, radiator fan, mount radiator. Good 10 hours of work.
 
DanPerryy
Worked through Thanksgiving weekend, about 24 hours total. Completed front wiring, front radiator and coolant hoses, radiator fan, horn(s), flat tow lighting, then went to the back of the car. Installed fuel pump, engine, coolant hoses, the AC compressor (I will be using the AC) on the automatic. Goblin has insufficient clearance between the tank and the ac manifold on the compressor. Will have to work that out. Plugged the AC compressor inlet and outlet to keep dirt out. Then went after the rear-end wiring. A bit tight but all of them fit with the exception of the main power block on the fuse block - I have just two wires left on mine so I need to stretch them. Nearly ready to crank it up!!!
WP_20161125_002.jpg
WP_20161125_003.jpg
WP_20161126_009.jpg
WP_20161126_010.jpg
WP_20161126_011.jpg
WP_20161126_012.jpg
 
DanPerryy
Another day and a half, probably 6 total work hours, I had to do some running to wrecking yards to get parts I misplaced. Mounted the fuse box, sat mine up 4" with a spacer from the engine mounting plate so I could get easier access to the stuff underneath (shifter cable, hoses etc.) Installed the fuel line, rear tail light wiring, vent line to the overflow bottle. Worked on getting a transmission oil cooler installed - not done yet. Lonny and Adam have murdered their automatic without a cooler so one is probably not necessary but I thought I would add one. Note - when you install the fuse box make soure you have room to remove the cover and the relay/fuse block from the base plate.
 
DanPerryy
We have ignition Houston!

I completed the installation of my transmission oil cooler, battery cables, and attempted to fire it up. It started immediately, backfired and stopped. A couple more tries the same thing. Then I checked the fuel rail. It was full of air. Bled it and refilled jumpering the fuel pump relay. Hit it again VROOOM - what a kick.

 
Last edited:
JSATX
Whoop! Such a good feeling.

I couldn't figure out how to get a video to post for the life of me. Is that one hosted on YouTube and just linked or something?
 
Adam
I couldn't figure out how to get a video to post for the life of me. Is that one hosted on YouTube and just linked or something?

Dan's first start video was uploaded to the DF Kit Car YouTube channel. You can either upload to your own YouTube account or if you'll send them to me I can upload to our account so the videos are all in one place. PM me if you are interested in sharing your video on our channel.
 
DanPerryy
My first stage nearly completes. I have yet to install firewall behind seat, and floor panel. I have a nonstandard shifter (automatic) as mine will not be in between the seats (3 person seat). Mine will be a knob on the left side, I have to figure it out.
 
DanPerryy
As many of you may know, I have been doing the assembly work on my Goblin in one of Lonny and Adam's shops in Red Oak. While I did the complete harness thinning and re-build in Austin we have a daughter that lives in Flower Mound near Lonny's shop and I thought I would assemble it up there where we could see our grandkids more often. That would also afford the opportunity for me to point out improvements to the published instructions where I felt they were not were not clear. That really did not happen as I found the car thus far pretty simple to build.

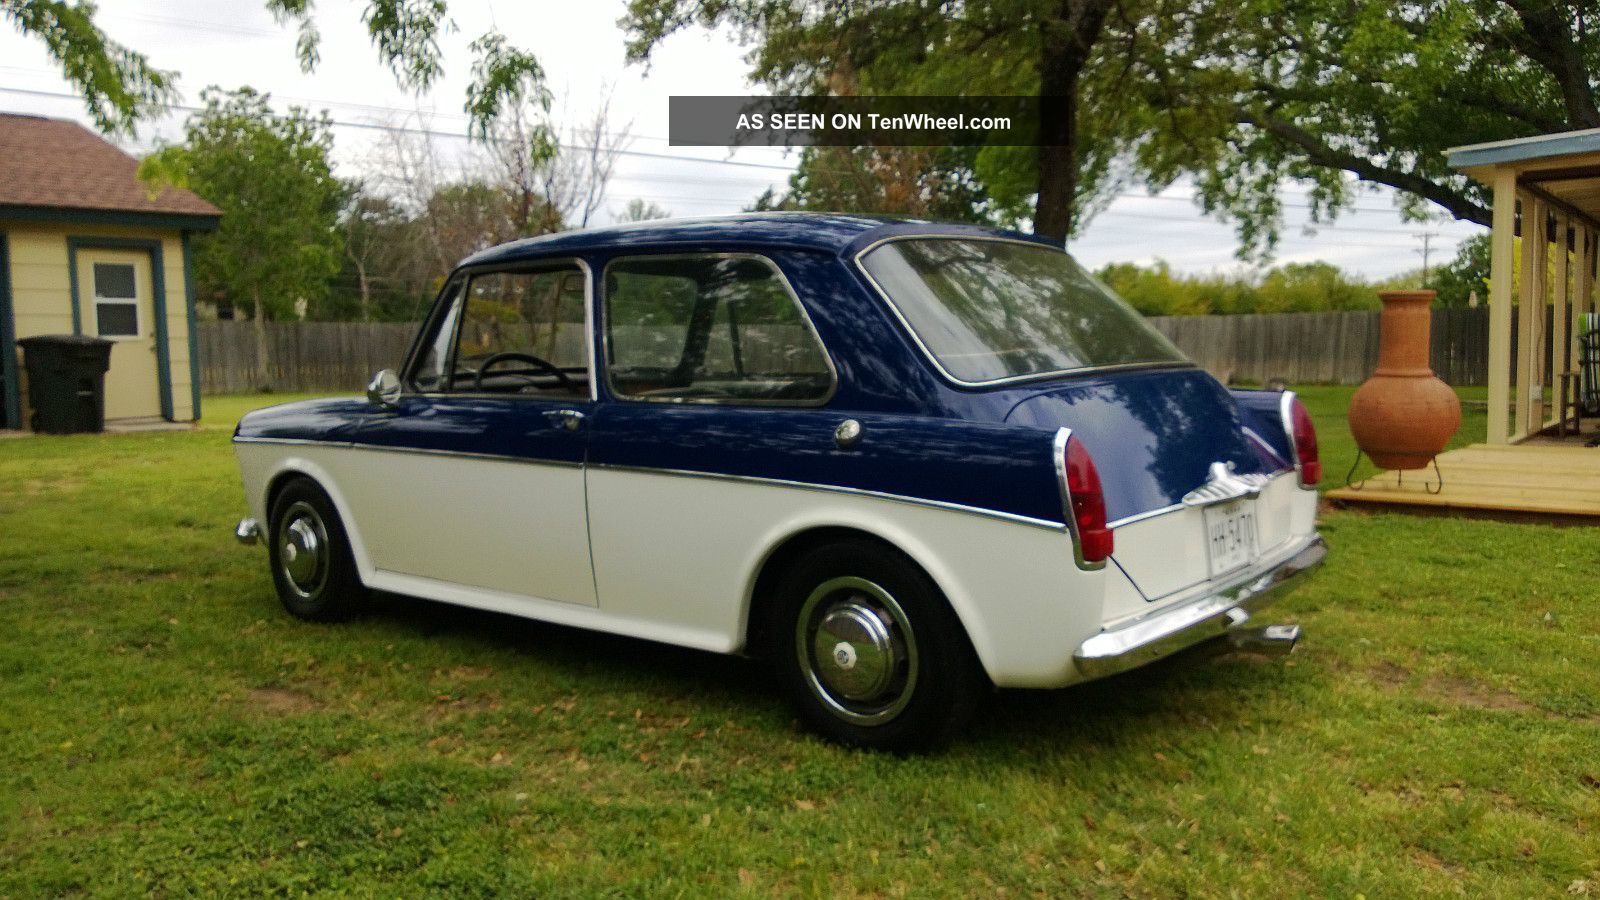
I have never built a car before (although I have worked on cars my entire life). I was considering - before I found the Goblin - that I would try to build a car from scratch, a tube frame on up. As a matter of fact I had thought about this for many years. I recall many years ago I wanted to get the drivetrain from a MG Sport Sedan (a very early FWD car).
1963_mg_1100_sport_sedan_5_lgw.jpg


and make a mid-engined car. I had many MG's and Sprites years ago. This car had an 1100 cc engine but 1275's were readily available from other BMC cars.

While I did not really like the idea of having to build the entire car, I wanted a mid-engined configuration and a very light car. When I saw the Goblin I thought I struck pay-dirt.
The task of building it thus far has been so enjoyable for me. I have recorded the hours spent and posted them in my build log. I do not work that fast, taking a lot of time just looking at the car (and I am 70 years old). The last weekend - 1 and 1/2 day for me - I spent over 2 hours looking for a connector cover that had fallen down on the torque converter cover that was hidden from view. I am nearly finished with the first stage and am getting ready next visit to install the subframe and rear suspension, axles (new CV boots) and rear brakes. I left off the subframe during my build to get better access to the underside. I have not added up my hours and do not recollect accurately what I have posted earlier (that information is accurate) but I think there were about 30 hours in tear down, 30 hours in harness (I have a lot of extra wires, AC/Heat, towing lights, heated seats, 120VAC inverter power, power for a dash tablet etc.). I think I have about 60 hours in assembly now.

 
DanPerryy
Looks great Dan. How did you mount your fuel filter?
There is a large bolt hole in the case where the filter is shown. I had to drill out the hole in the fuel filter to take the bolt. The hose between the fuel filter and the fuel rail is a bit hard to get to fit (the plastic pipe). If I were to do it again I would heat it up a bit.
 
JSATX
There is a large bolt hole in the case where the filter is shown. I had to drill out the hole in the fuel filter to take the bolt. The hose between the fuel filter and the fuel rail is a bit hard to get to fit (the plastic pipe). If I were to do it again I would heat it up a bit.

Cool thanks. Yeah I didn't use the hard line. Standard 3/8 fuel line worked great and is really easy to route around.
 
DanPerryy
This past effort: seat brackets for my "bench seat", auxiliary transmission oiling for towing. Will send picts next week. Mine is really coming along now!!! 12 hours.
 
DanPerryy
Last weekend - oh so cold - just worked 4 hours. Front 3 passenger seat frame finished (except cleanup and paint). It uses 2 seat brackets from the Goblin kit to attach the seat to the floor pan/floor frame. The seats themselves are stock rear seat cushion and seat backs from coupe.

The bottom seat cushion "clips" into the front bar and uses the clip slots on the rear stock rear cushion hinge. The seat backs clip into the hinge bar - the high piece. The little tube in the middle of the rear bottom tube is to allow the long rear tube to be cutout in the middle so I can lower the seat clearing the center Goblin raceway for wiring etc. The stock rear seats have the center of the seat raised to clear the tunnel. I will install some flashing from the front to the rear tubes under all three seat positions to support our buts.
Seat Frame.jpg
 
Last edited:
Back
Top