• We've upgraded and reskinned the forum. Notice something off? Email us at [email protected] and we'll fix it.

V1 Zack Graber’s City frame #239 - 08 2.2 supercharged auto

Goblin Graber
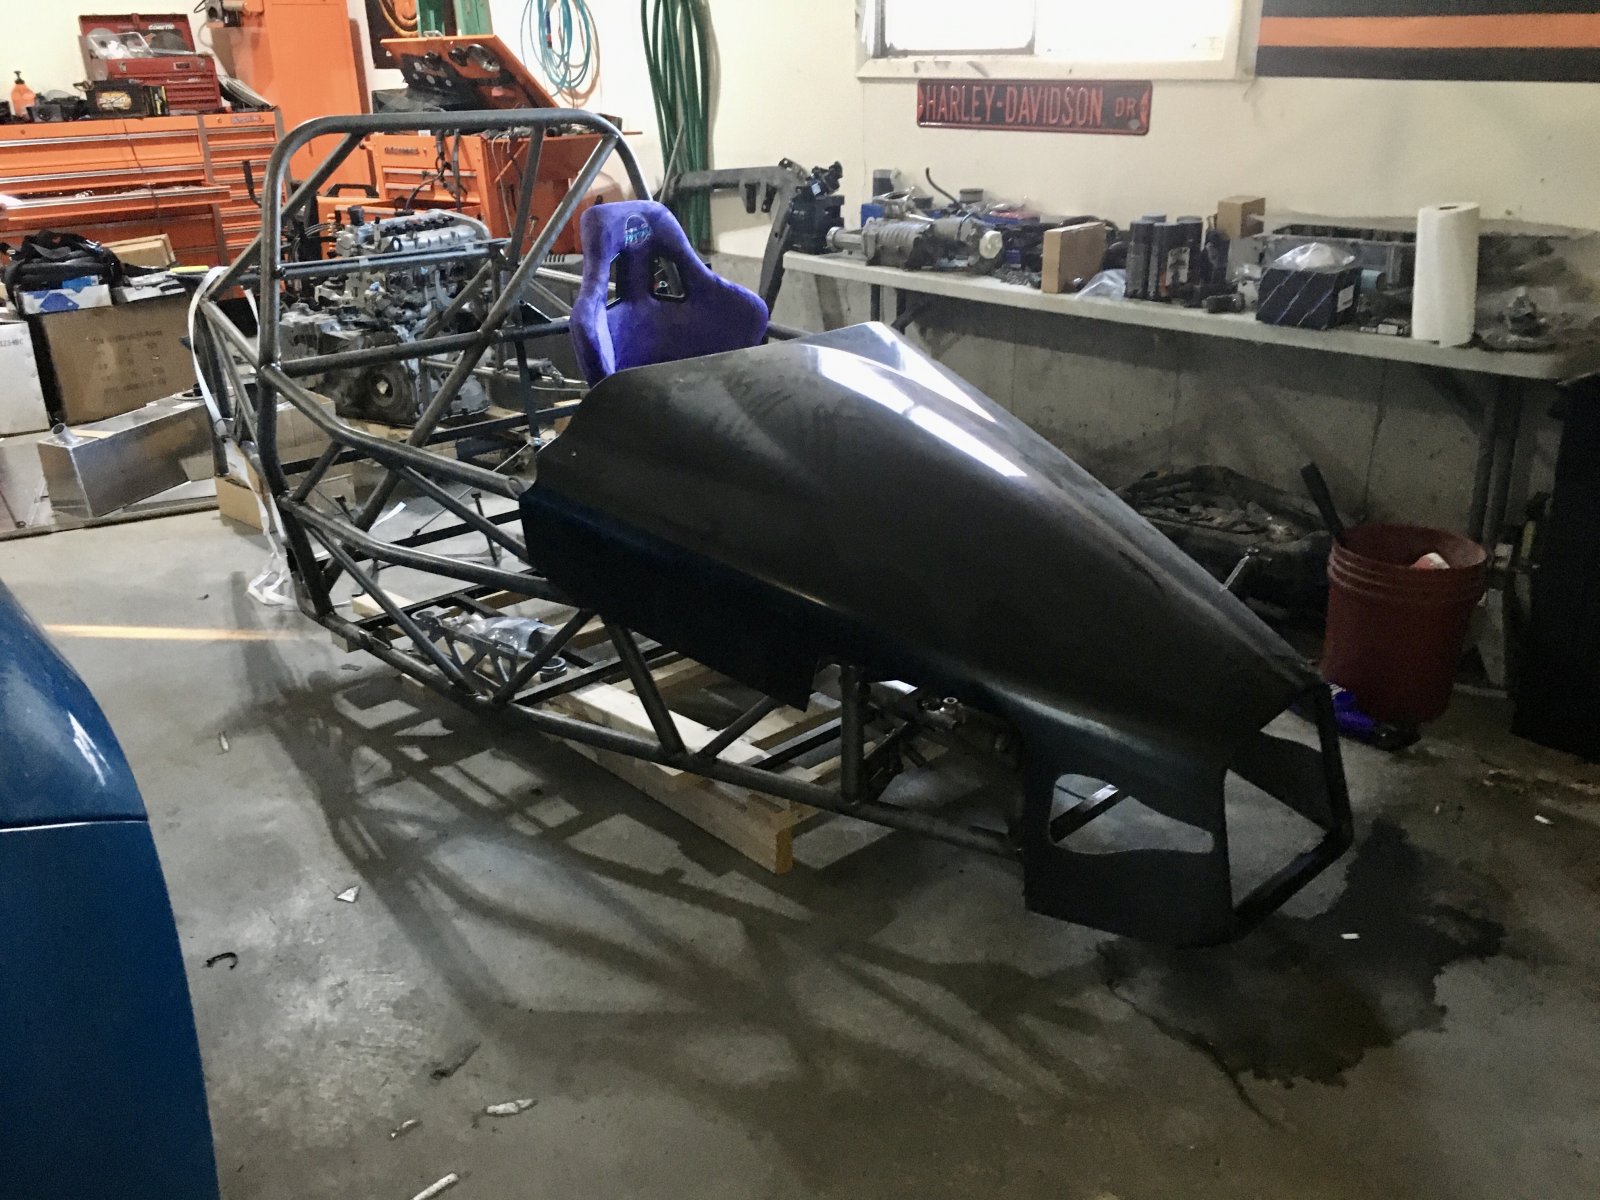
Got the kit unloaded this morning and started going through some boxes. I definitely need to reorganize my garage.

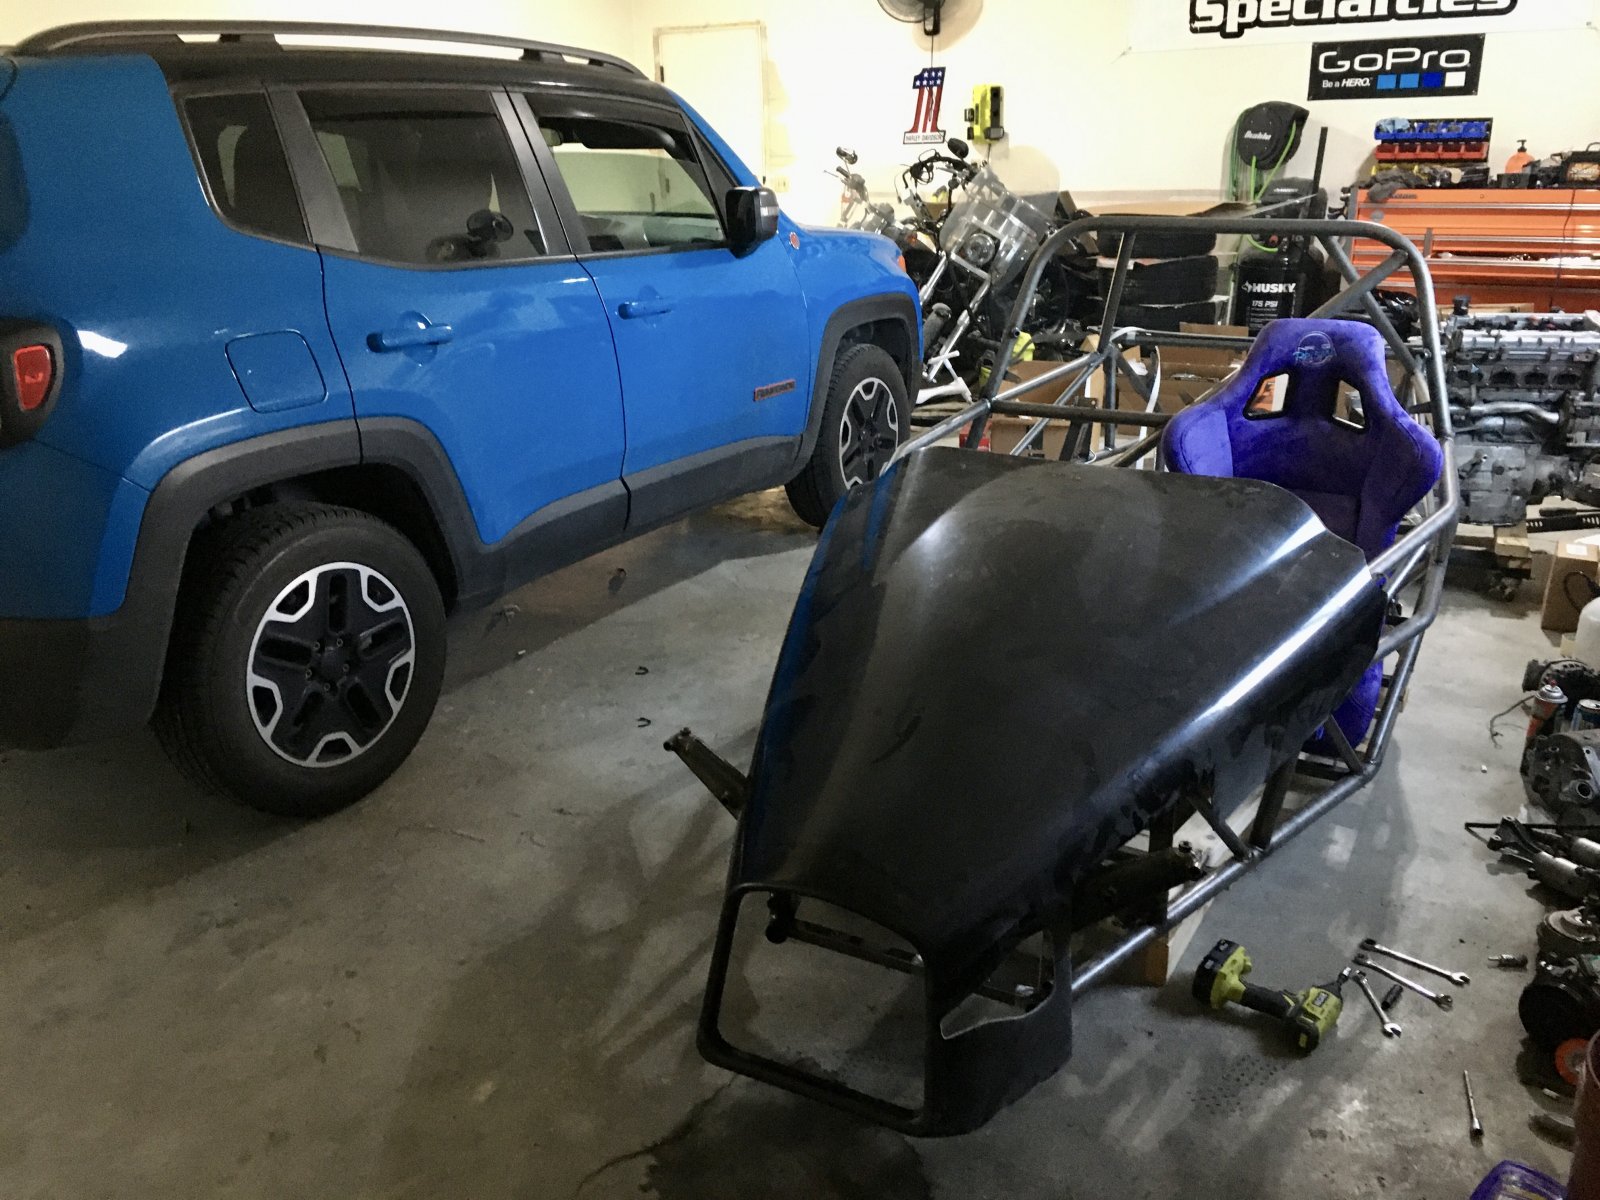
It is a little smaller than I thought it would be. It’s shorter standing next to it than I was thinking. Kinda glad I changed my mind from the easy entry I originally ordered. I don’t think I would have felt comfortable having my young kinds riding around without the door bars.

Unfortunately I got the wrong seat brackets. They sent me ones to mount the seats forward in an extended frame so the seat is WAY far forward right now. A quick call to them and the right ones are on their way.
AA1BB351-2AA9-4CE0-9AC0-7775F0E45325.jpeg
0F27A0B0-D2F9-4DB4-A356-BCBAC78E5806.jpeg


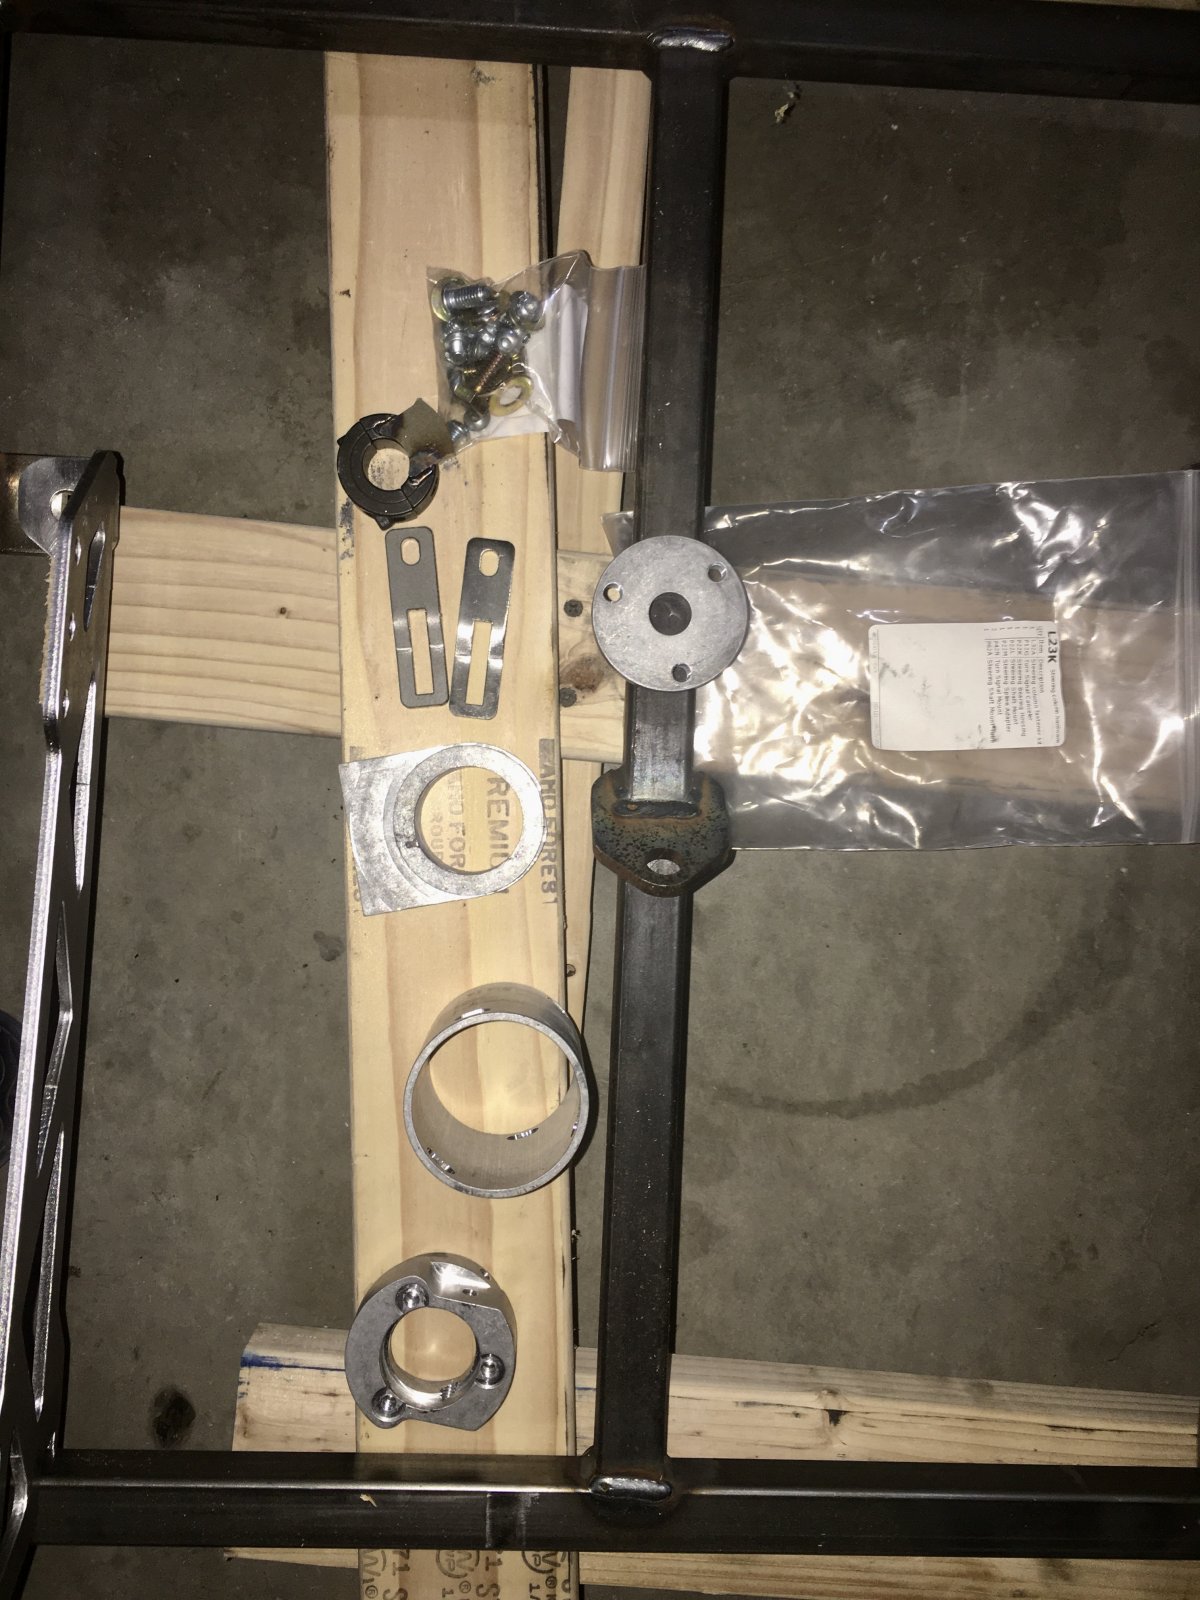
Anyone have a couple pics of how all this steering wheel stuff goes together?
E417C64F-D232-4117-A37D-725CD5DEB069.jpeg
 
k.rollin
Column drop, then tube, then bearing support. Ears attach to the bearing support and hold the multifunction switch for the lights. Turn signal cancel cam attaches around the steering shaft and the wheel adapter goes on the end.

 
ctuinstra
Don't forget the c-clip on the steering shaft just before the turn signal canceler. We forgot ours and the shaft kept creeping down and the cancel cam started rubbing on the screw heads.
 
JBINTX
Don't forget the c-clip on the steering shaft just before the turn signal canceler. We forgot ours and the shaft kept creeping down and the cancel cam started rubbing on the screw heads.
good to know I was not the only one with the disappearing steering wheel issue............. ;)
 
Goblin Graber
First thing I wanted to do was get the seating position mocked up so I can start working on the dash. Well it’s Goblin-2 Zack-0

DF sent the wrong seat brackets so the seat is crammed really far forward. I called them and they have the right ones coming to me.

Then I moved on to the steering and couldn’t figure it out. Turns out none of the holes got tapped in my column drop. My dad has my tap and die set, so I have to go get those to fix it.
F8655920-2783-4153-8181-4D31E522A914.jpeg
 
Goblin Graber
Got a little bit of work done on this thing. It’s against my nature to build something like this without mocking it up first. Once I’m done tweaking on some small things it should only take a day to tear down.

So far here’s my welding list before I can get it powder coated:
Fuse box mount
Tabs for the full dash panel
Diamond tread floors
Something for the intake and MAF tube
Transmission cooler
Coolant tank mounts
Might put some double shear harness mounts on the tube instead of wrapping them
40DA0B96-5CAD-421E-9FA3-4CC16DFE37EA.jpeg
48A9837C-7285-49FD-B767-D84FA82EF51E.jpeg
 
k.rollin
If you're going to weld on the chassis, I'd suggest adding a harness bar at the appropriate height. In looking at most builds (including my own), the harness bar is too low relative to the seat height/occupant's shoulders.
 
Goblin Graber
If you're going to weld on the chassis, I'd suggest adding a harness bar at the appropriate height. In looking at most builds (including my own), the harness bar is too low relative to the seat height/occupant's shoulders.
I’ll see later this week when I get the new seat brackets in there. I think these harness mounts I got from Ruff Stuff will bring the harnesses up just enough. I’m only 5’8” so I’m not up super high in the seat. The harnesses I got already have tabs on them to be able to bolt them in.
AC395708-8069-4431-97FF-99AAC0784269.jpeg5D1476D5-57A7-4765-AAEF-677394E791F4.jpeg
 
Goblin Graber
I thrashed on this thing late into the night last night. It all went pretty smooth except getting the subframe in by myself was kind of a pain. I’m definitely going to get someone to come help me do that for final assembly.

Got it sitting on its own weight and the stance of this thing is killer! I was worried the 17x8 18x9.5 combo was going to look too big on a standard frame, but it’s perfect!
358859C4-E46F-4241-993E-FD5A34EF3289.jpeg


While I was waiting for my kit I had a set of drilled and slotted powerstop rotors sent to DF so they could drill them for me. They charged me $32 to drill them which seems like a sweet deal. Saved me a ton of time and they just went on right out of the box.
08BCCBC4-324C-4CA1-AA08-F6A926DC8411.jpeg
97033437-ADF5-4EE8-9599-8C543887FE77.jpeg


I also got the correct seat brackets and got the drivers seat in. The middle holes work great for position to the pedals, but I’m practically chewing on the steering wheel. I’m going to start with swapping the NRG quick release to one of their super short ones to see if that helps.
FAA580E8-68A0-4DE9-9E95-3439DE86316C.jpeg


I think to get the wheel where I really want it I’ll just make a new bracket for the steering. One that makes the bottom of the bracket lower and level like SACTX did with his, but also bring the column drop closer to the power steering unit.
 
k.rollin
I added spacers between the frame and the column drop to lower the wheel and cut the tube roughly in half to get a little bit of distance.
 
Towerdog
I did want to share 1 another mistake I made, 2 why I think I did it, and 3 how to fix it. Hopefully this keeps someone from making this same mistake.

1. At the end of thinning the main harness I had another 3 wire plug with a grey, white, and black wires near where the taillight plugs were. I couldn’t think of a use for any more wires that were back there so I removed it. Turns out it was the Battery Current Sensor connector. This is an essential circuit to regulate alternator output.

2. I did some research and this is on all cobalts have EXCEPT turbo charged models. Lonny is working on a turbo harness, so it’s never mentioned.

3. Now on to fixing it. Sure you can solder wires back to your connector and bcm plug but I found a better way. You should have this plug with about 5 feet of wire attached to it that was for the passenger seat weight sensor.View attachment 18105

This connector is the same as the one used for the current sensor. This lets you keep one clean factory end. Here are how the wires need connected. The connector pin out in all data shows pin B should be tan/white but it’s actually black.
Pin A Dark Blue - BCM pin 63 Grey
Pin B Pink - Ground near the dash harness
Pin C Yellow - BCM pin 68 White.
Here is the diagram for the connector. I added the schematic as well.View attachment 18106View attachment 18116
Hope this helps someone.
Just when I thought I was seeing the light at the end of the tunnel on this harness... Looks like it is the headlight to an oncoming train! So were does this mystery plug go?
 
Brian74
I ended up using 1” square tubing as spacers on both of the steering column mounts to drop mine. Drilled through it to match the bolt pattern and added longer bolts.
 
Goblin Graber
Thought I would share a couple pics. Adam said I was in uncharted territory putting the supercharger on an automatic. It’s a super tight fit, but it does work. The intake clears the fuel tank by 3/8” with a ZZP phenolic spacer.
3E989698-892D-4FE8-A7A2-776ED68545CD.jpeg


I will have to put a 90° fitting in the bottom of the dual pass end plate. There’s only 5/8” clearance there and I’ll never get a hose on it.
3122F0E8-BC3F-47B4-BFDD-D8FAE036A3D2.jpeg


The dipstick tube is a whole other problem. I think I’ll drill and tap the oil pan for an aftermarket dipstick.
 
Back
Top